
This easy and budget-friendly costume will appeal to even the youngest racing fans. Watch the video at team.valvoline.com/halloween.
Supplies:

• 2 pieces of 36” x 24” foam core in white (or preferred base color for body)
• 2 pieces of poster board in white (for hood & trunk)
• 3 rolls of Duct Tape™ in red and blue (stripes and construction) (Duct Tape MAX™ recommended for construction)
• Exact-o-Knife™
• 1 pair of black suspenders(for the straps)
• 3 black plastic or foam plates(for the steering wheel and wheels)
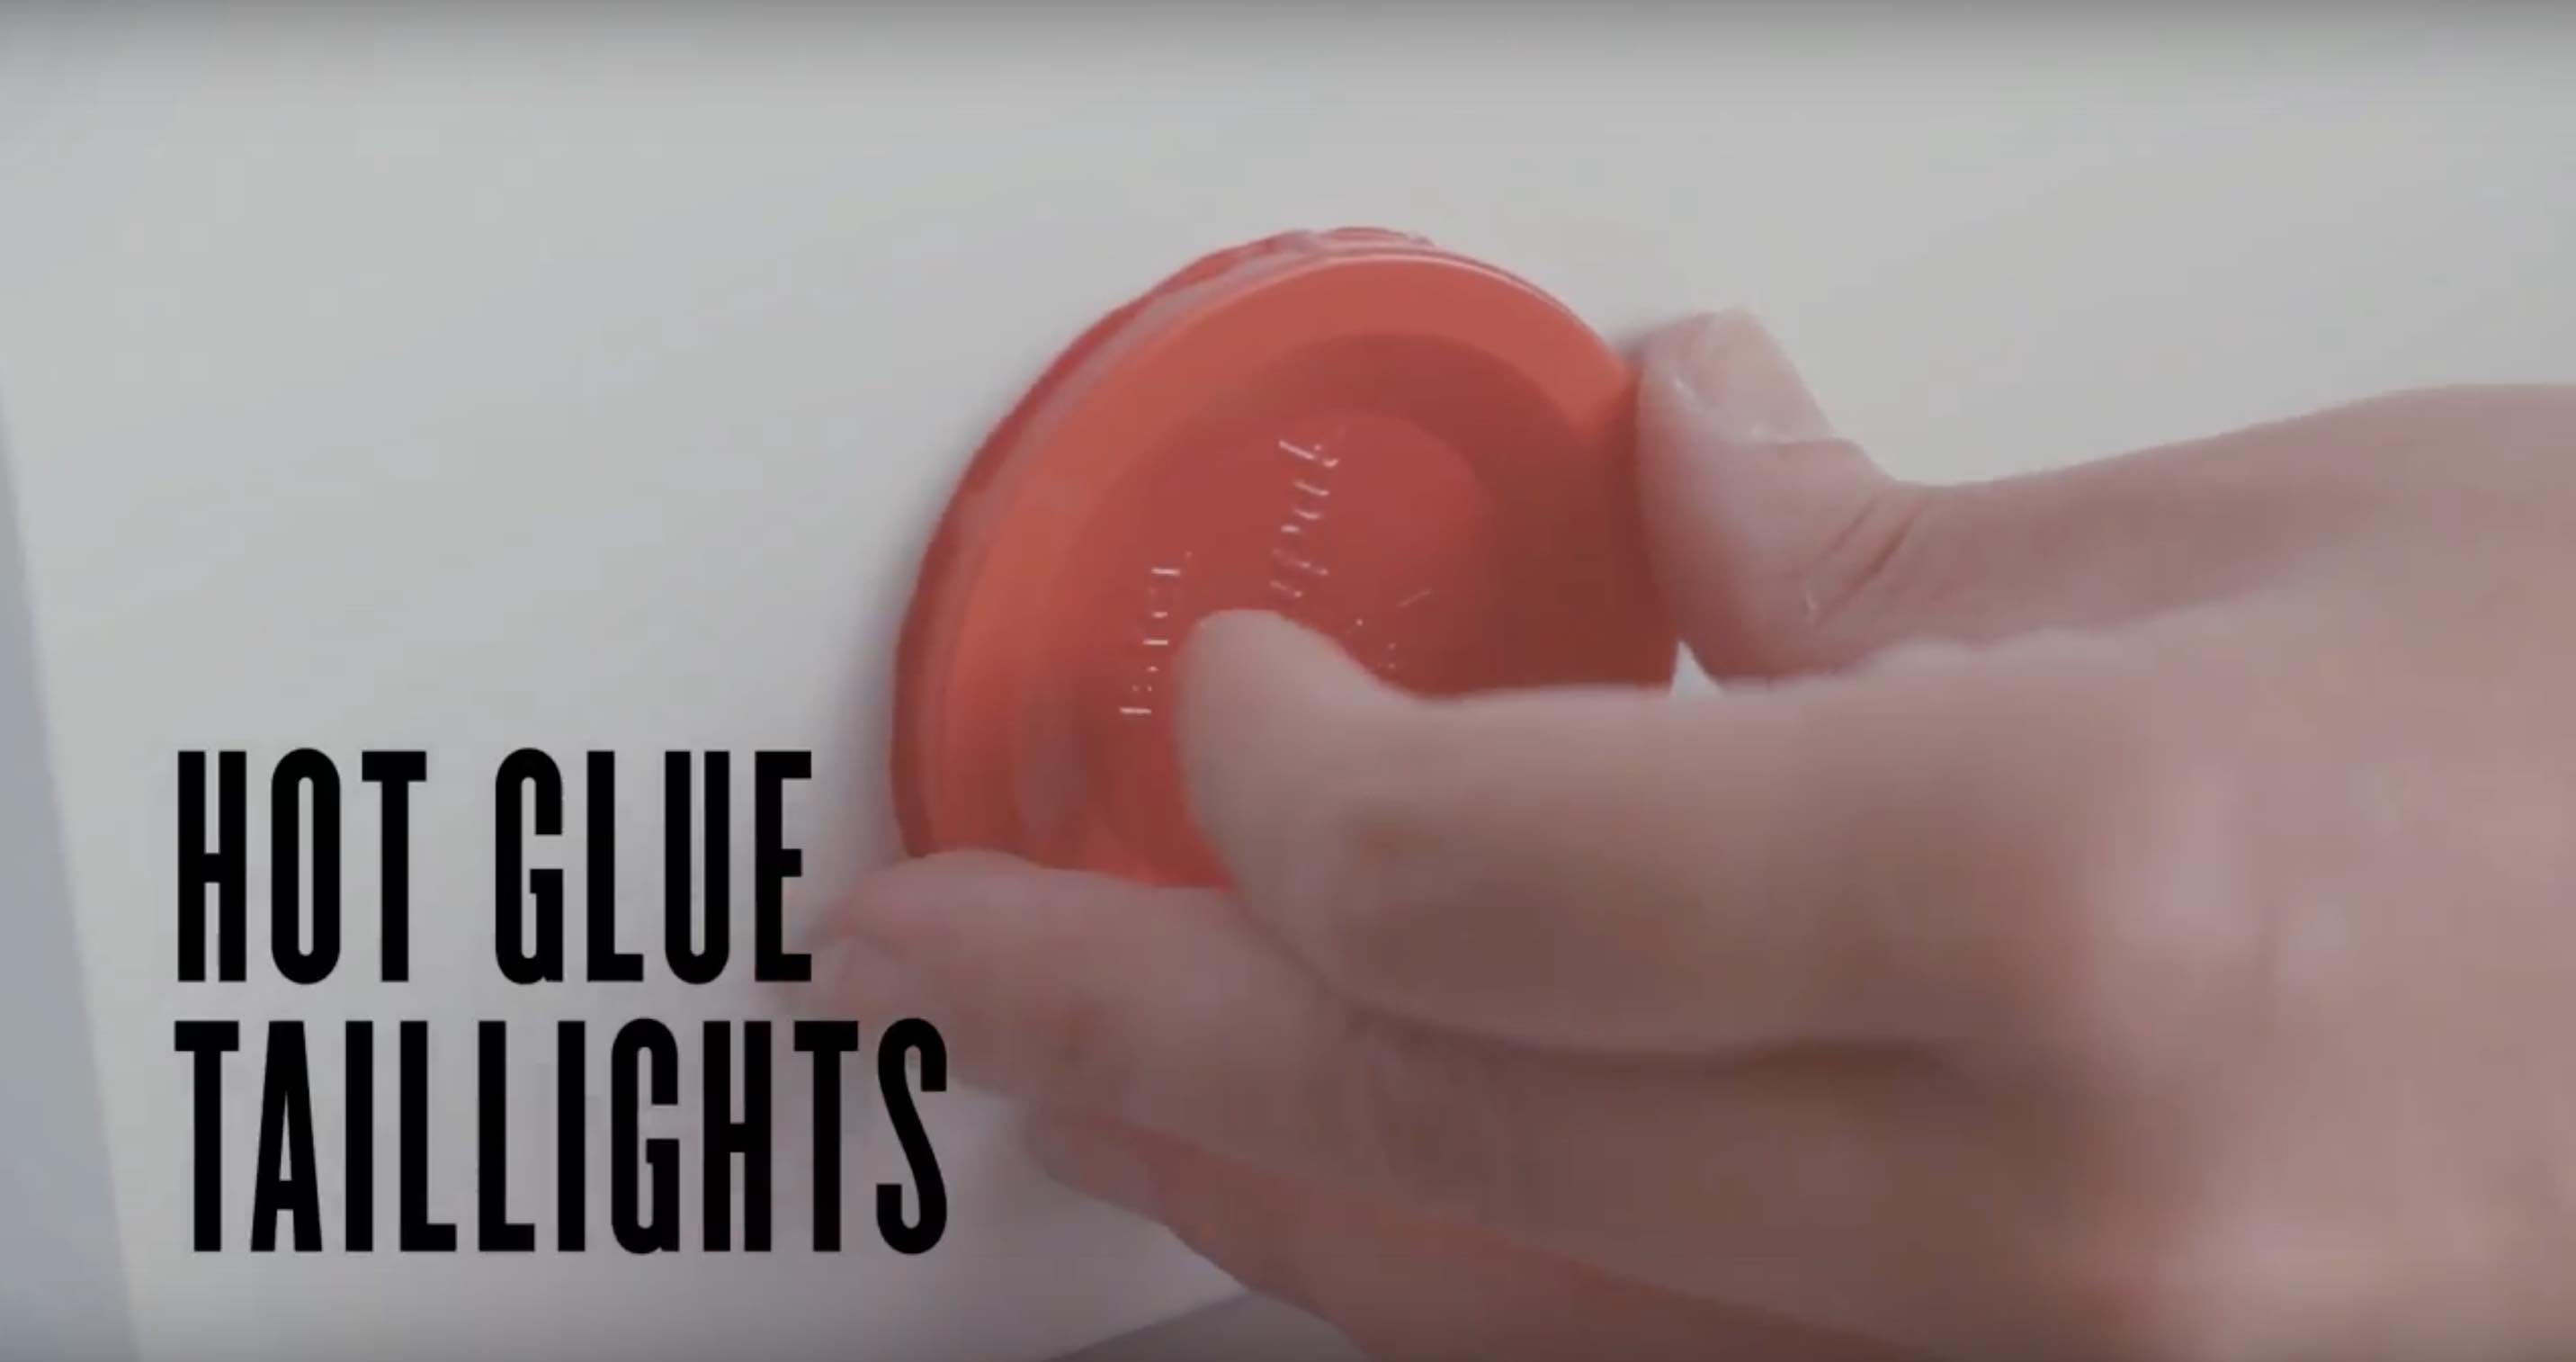
• 2 red plastic cups (for the taillights)
• 1 brad split pin(for the steering wheel and wheels)
• Self-healing cutting mat
• Hot glue gun
• Scissors
• Scotch Tape™
• 1 sheet of printable sticker paper for decals* (or regular printing paper) *Download additional decals at team.valvoline/halloween
• 4 old CDs(for hub caps)
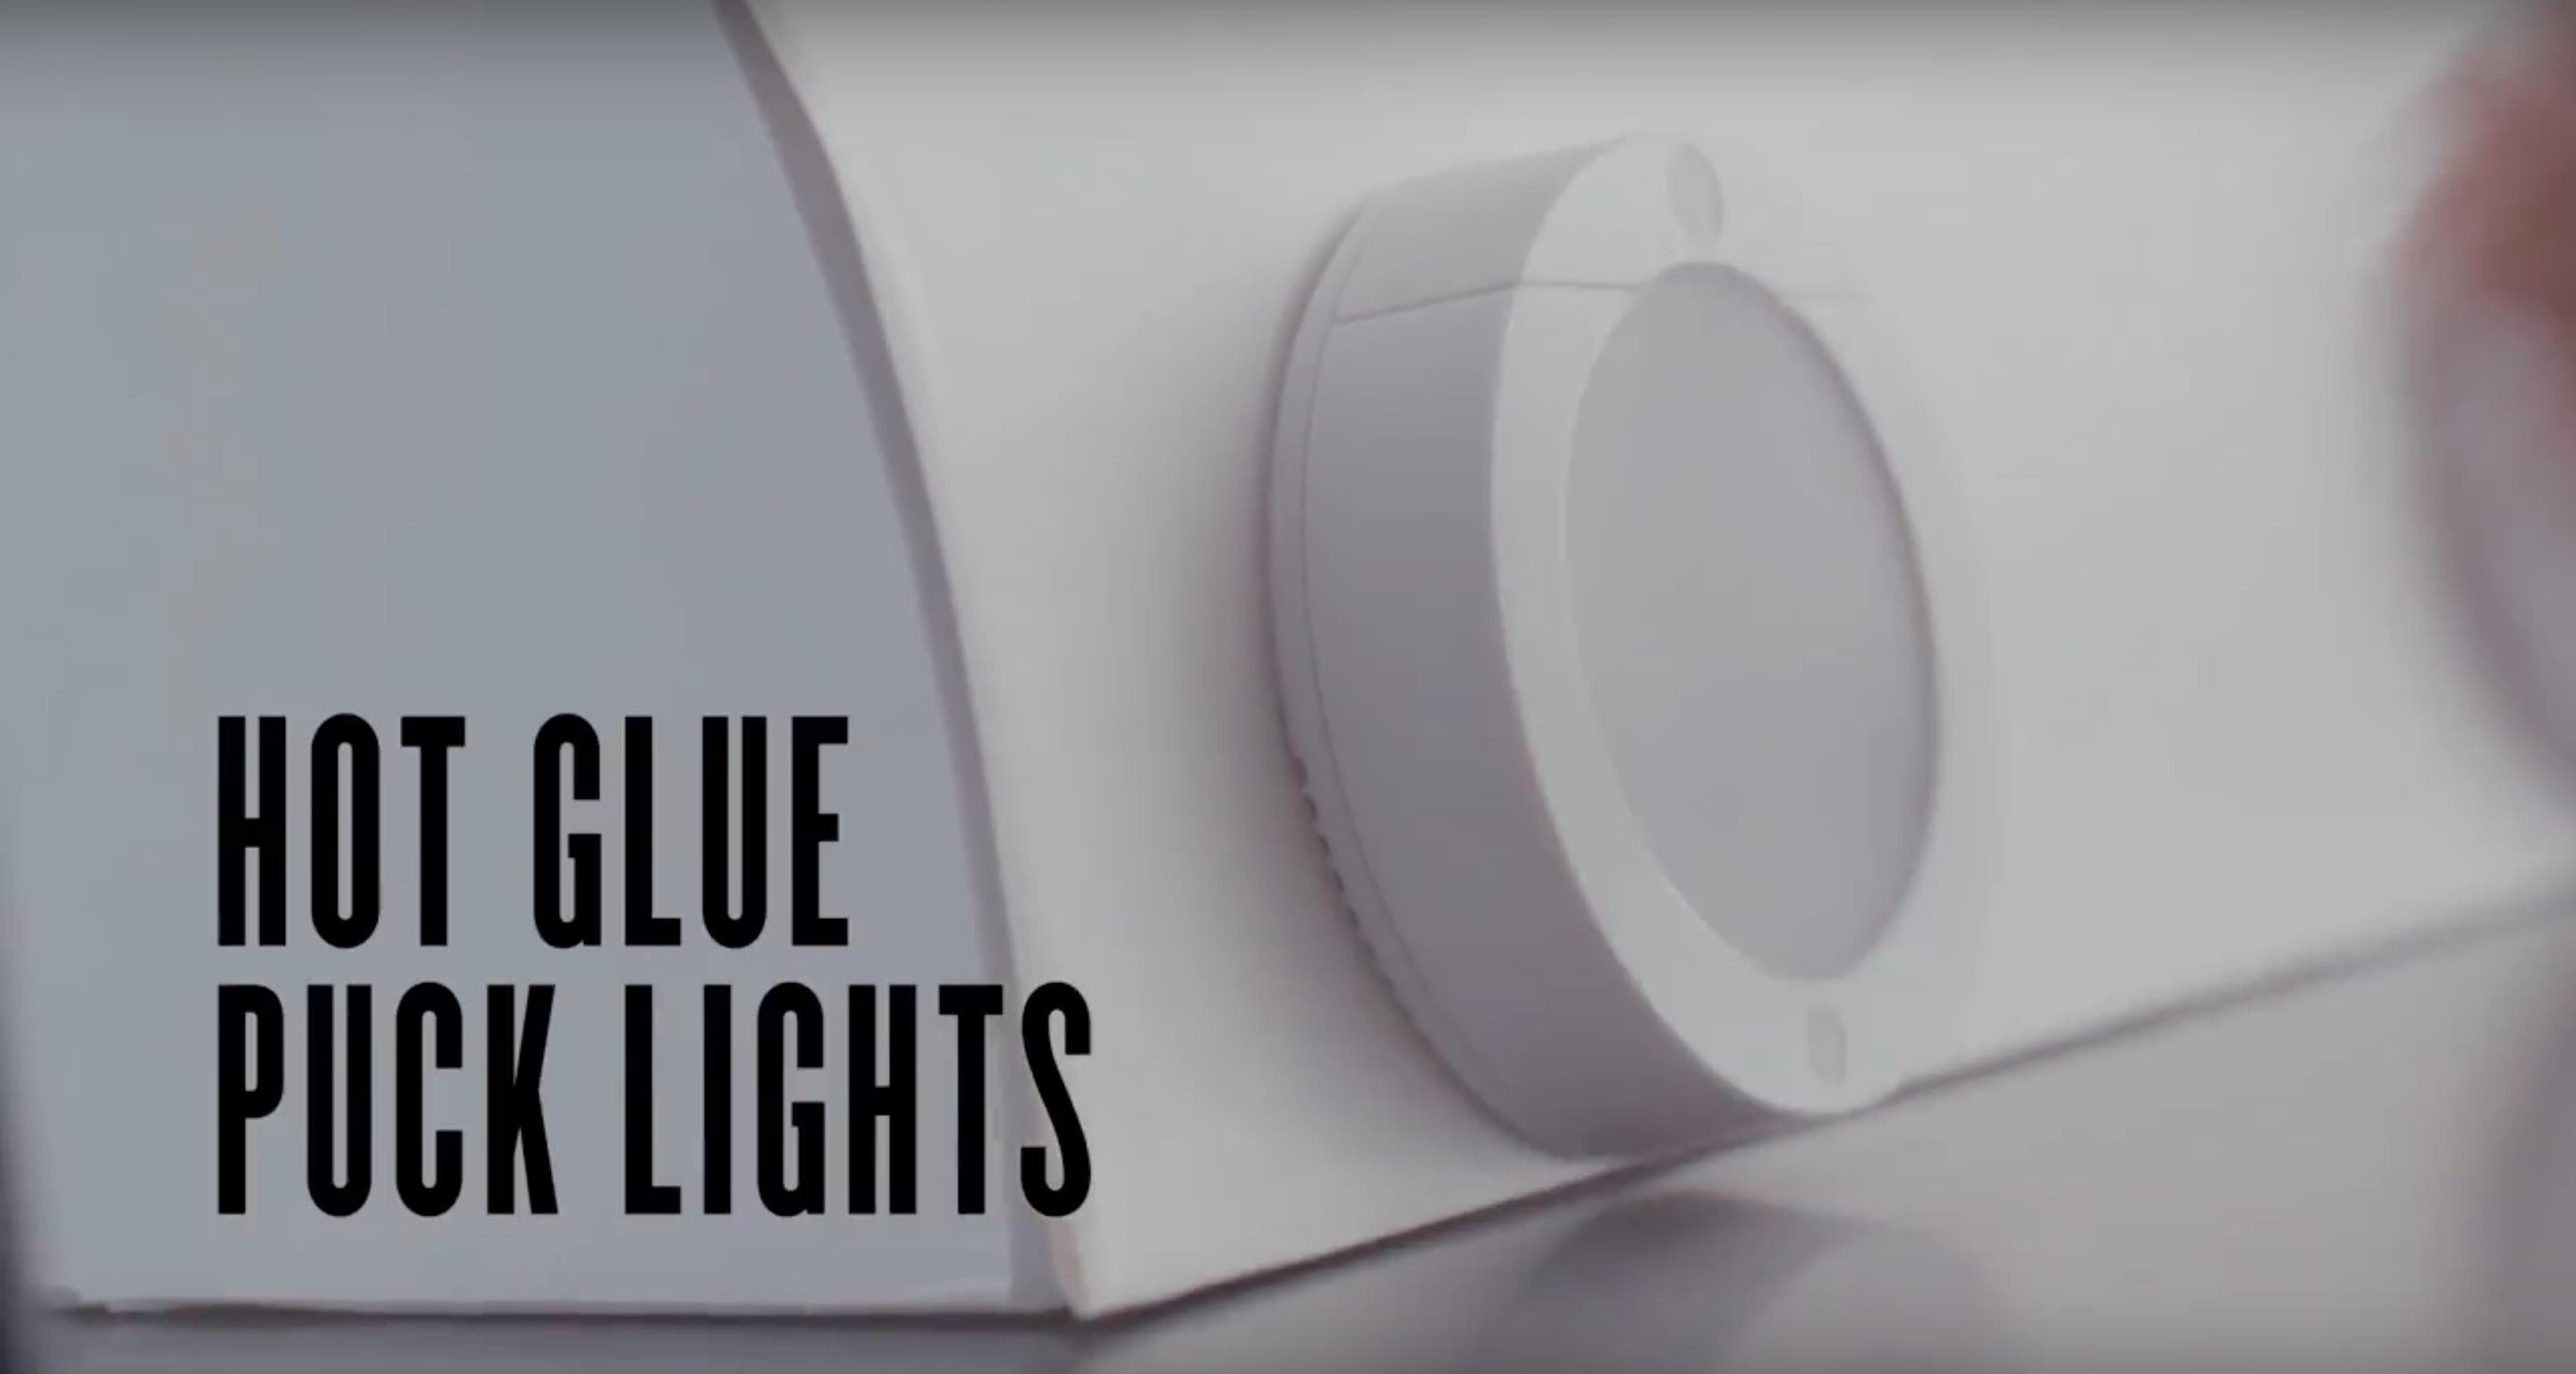
• 2 battery operated puck lights for headlights (recommended: one two-pack, GE Touch Activated LD puck lights™ and six AAA batteries)
• 2 pieces of 14 inch pipe insulation
• 1 piece of 23 inch pipe insulation
• Printable templates (provided)
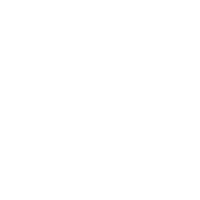
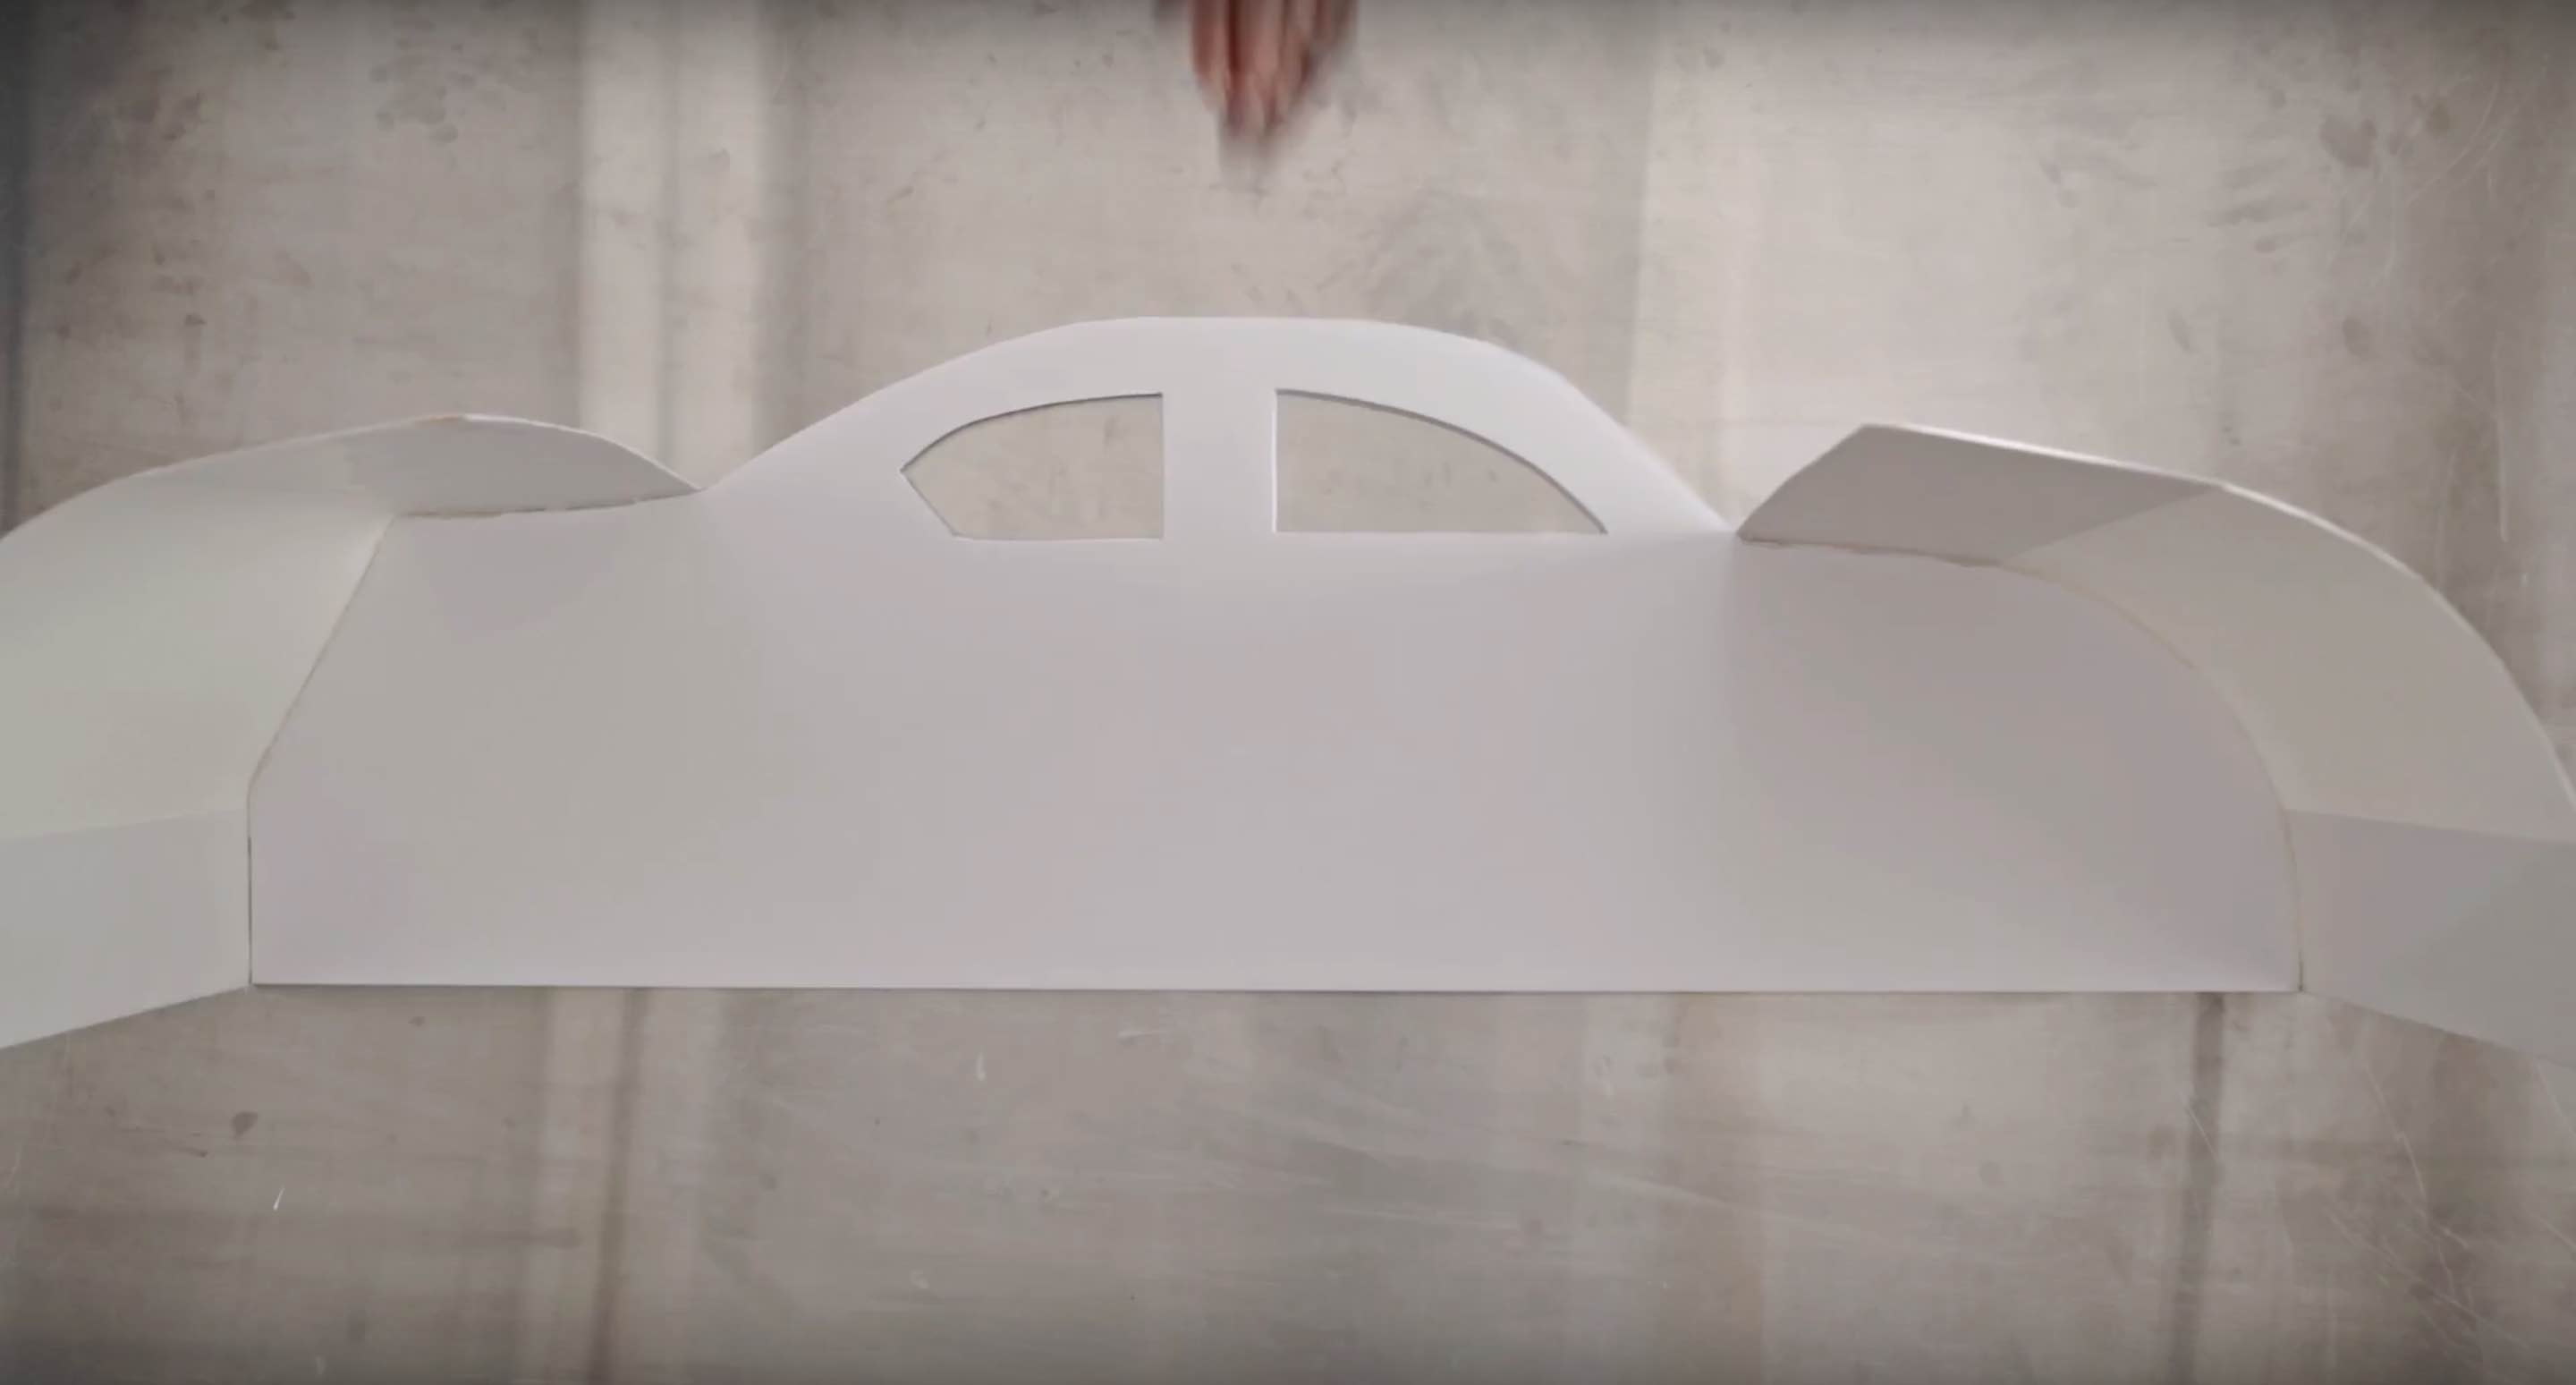
Step 1
Print templates, tape into place, & position over the 36” x 24” white foam core.
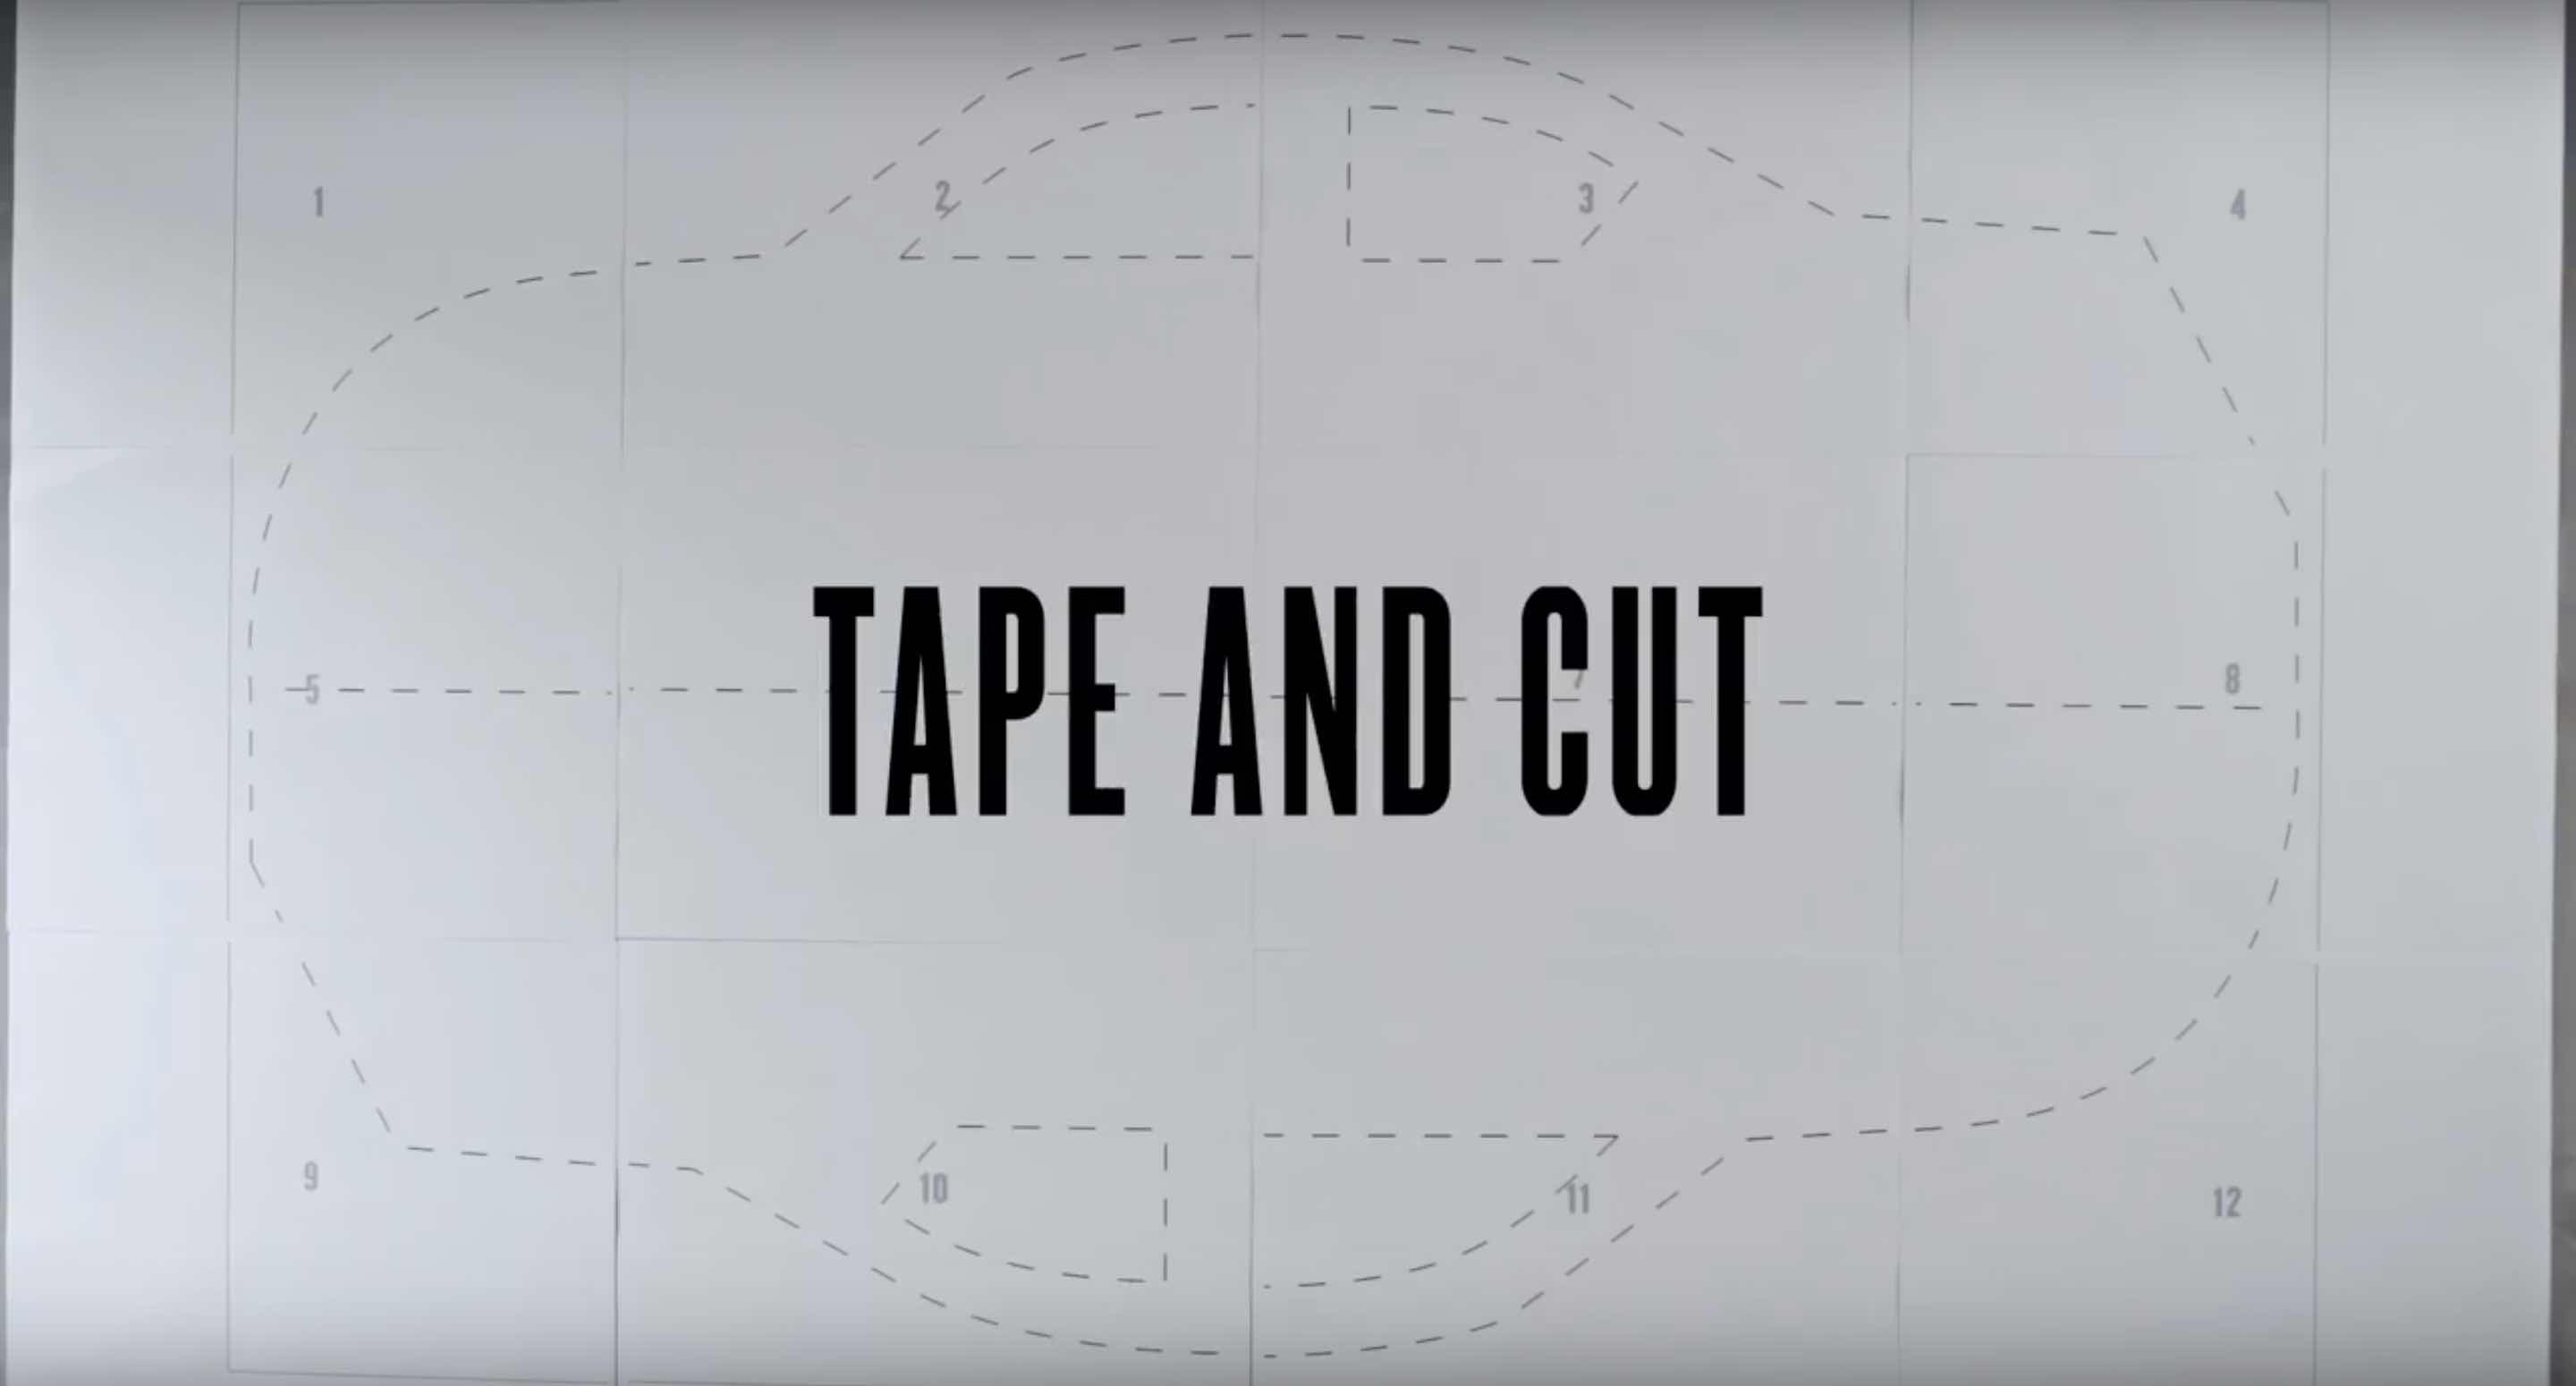
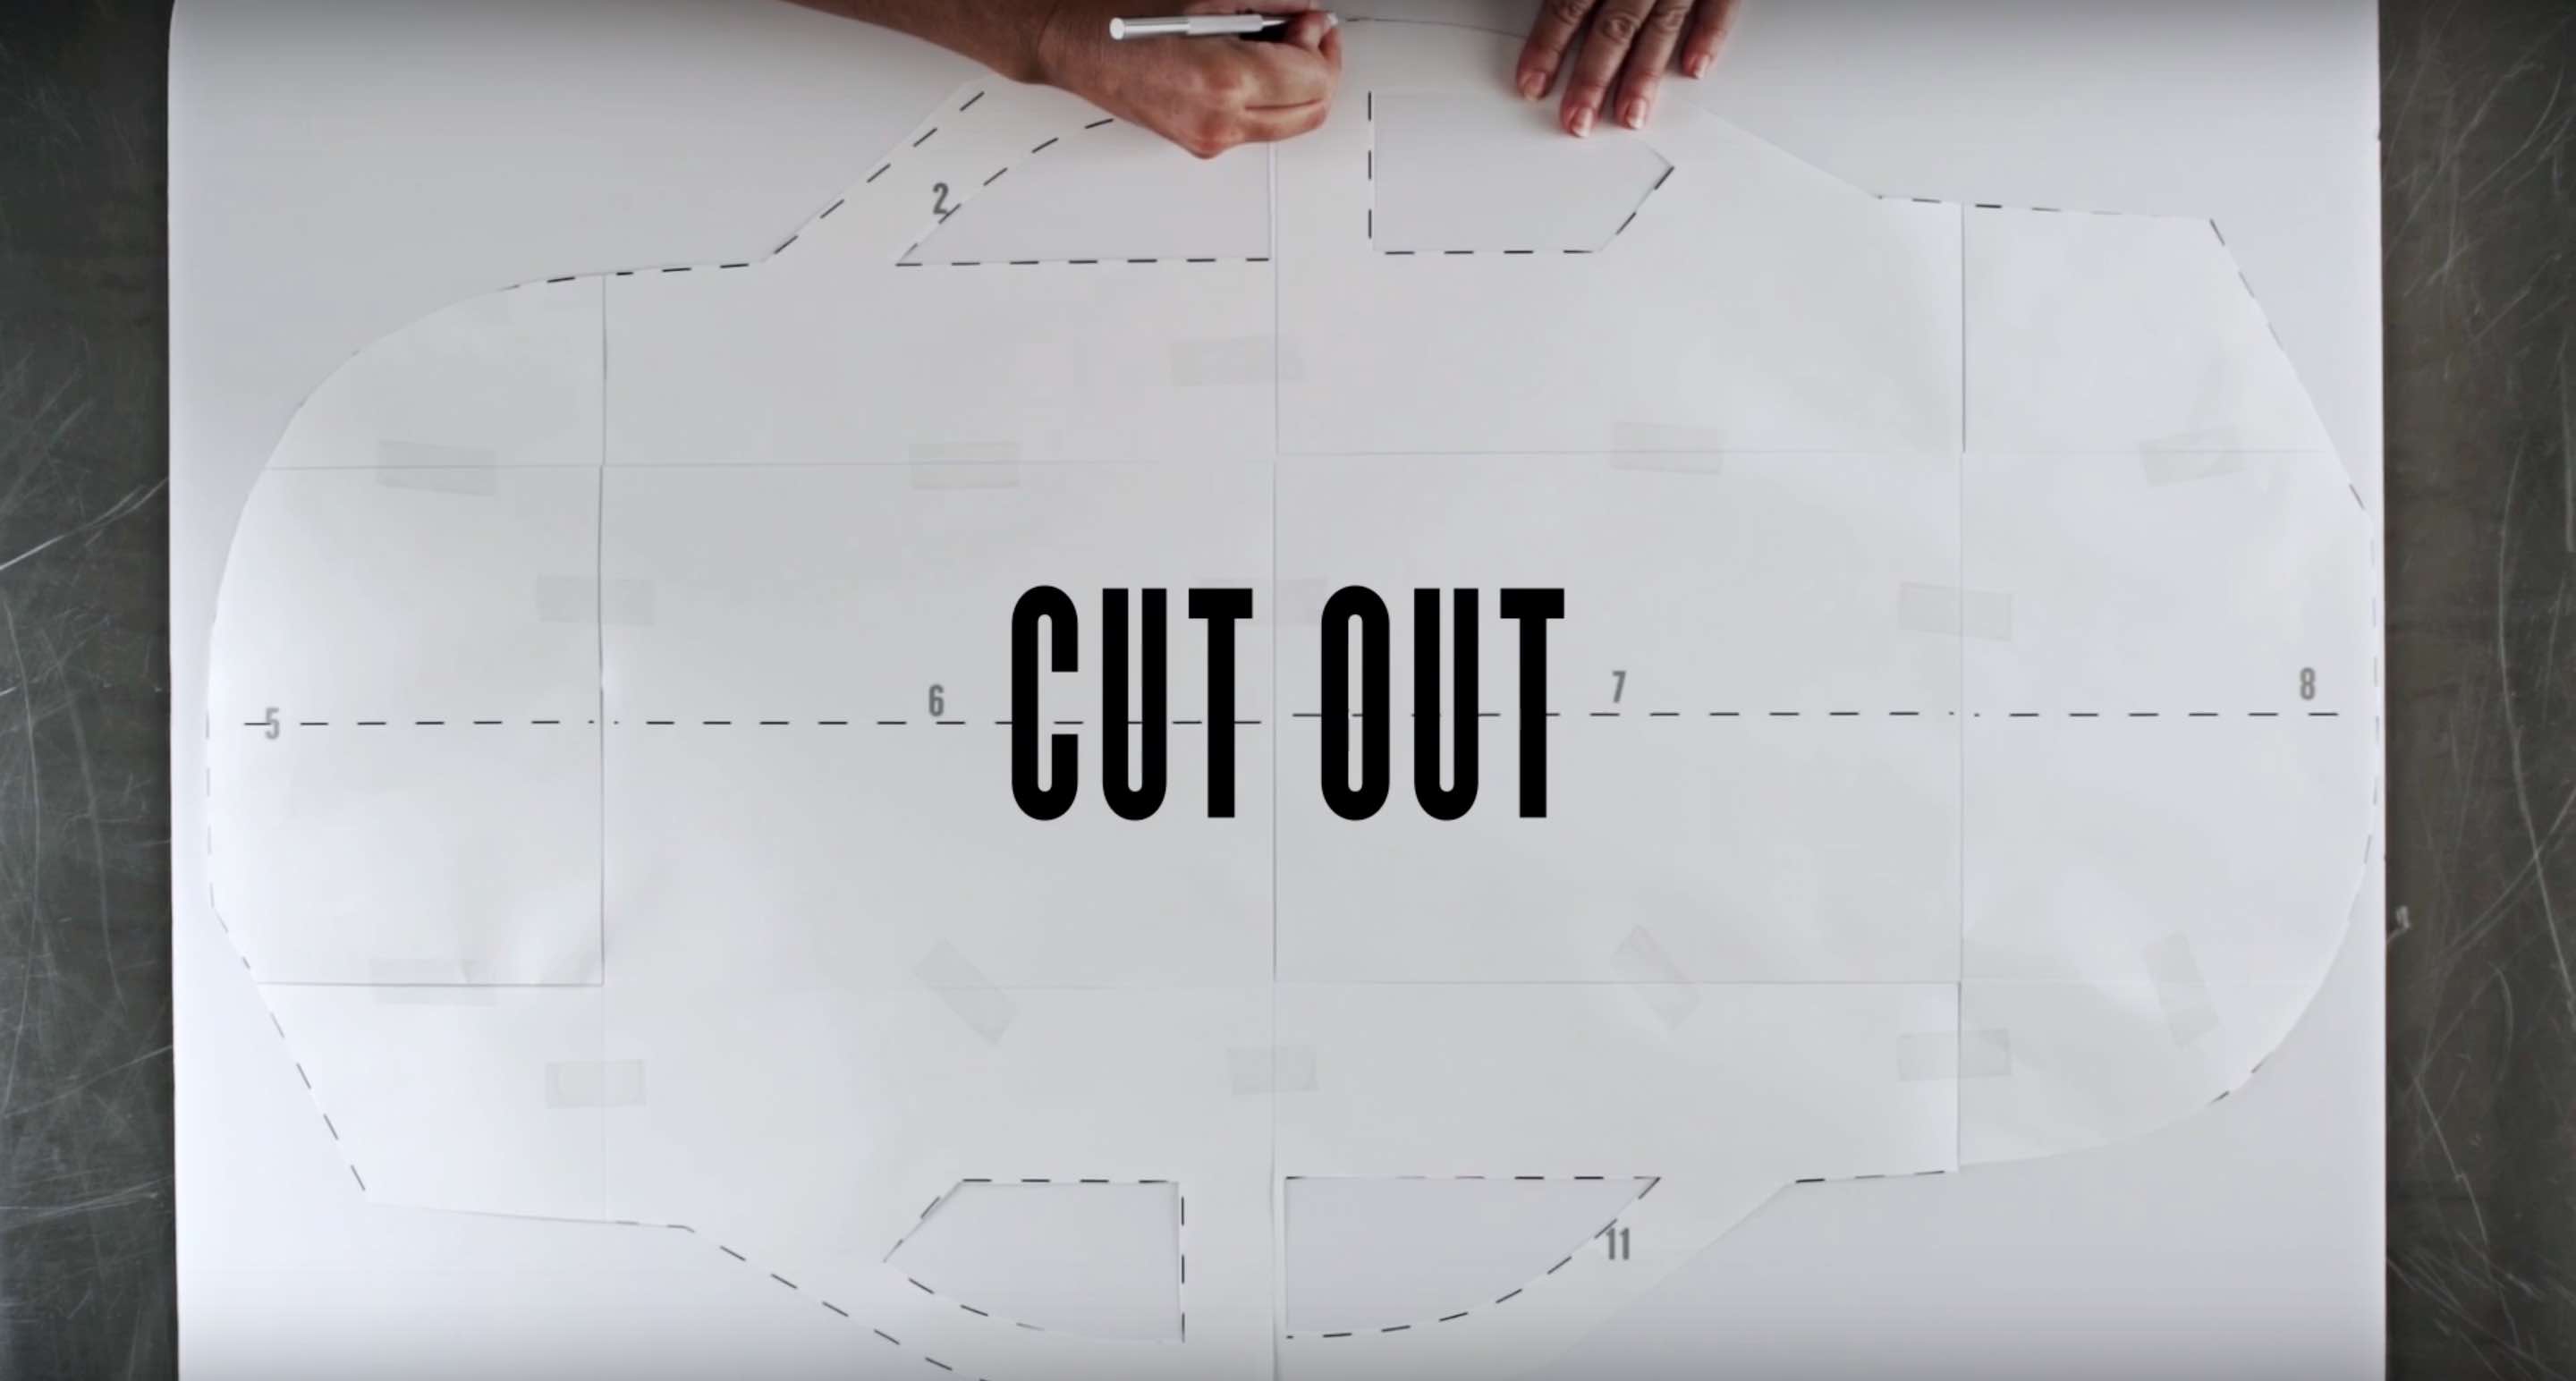
Step 2
Cut out the template using an Exact-o-Knife™
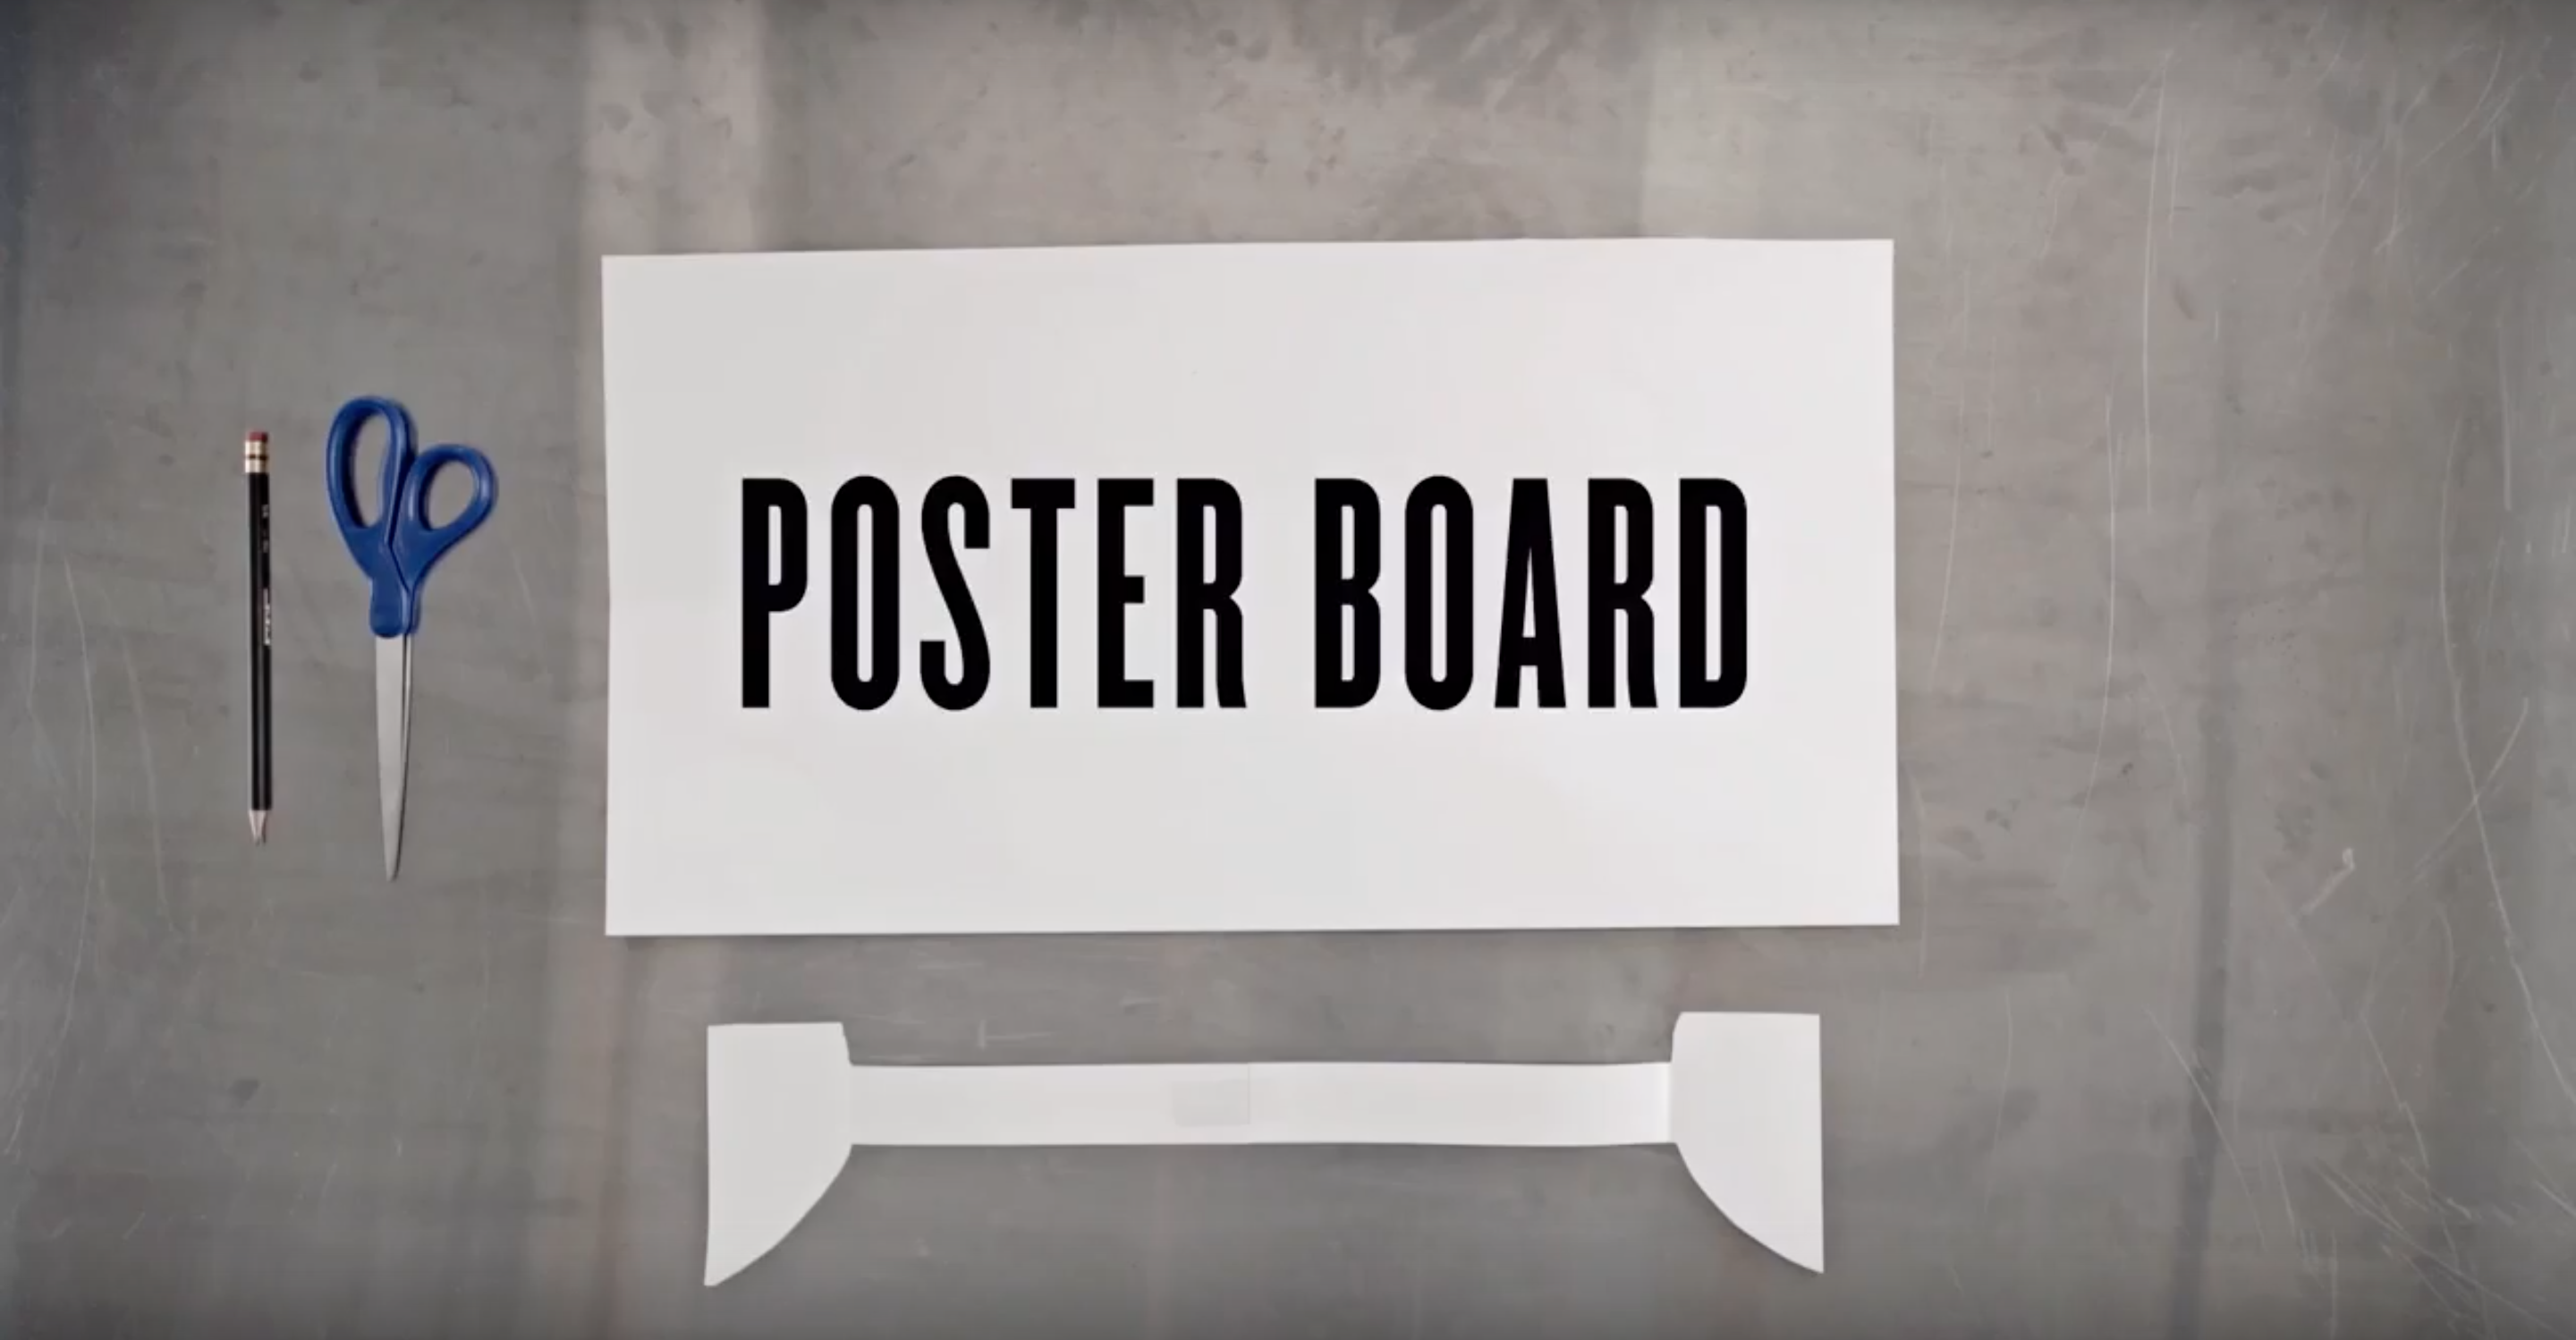
Step 3
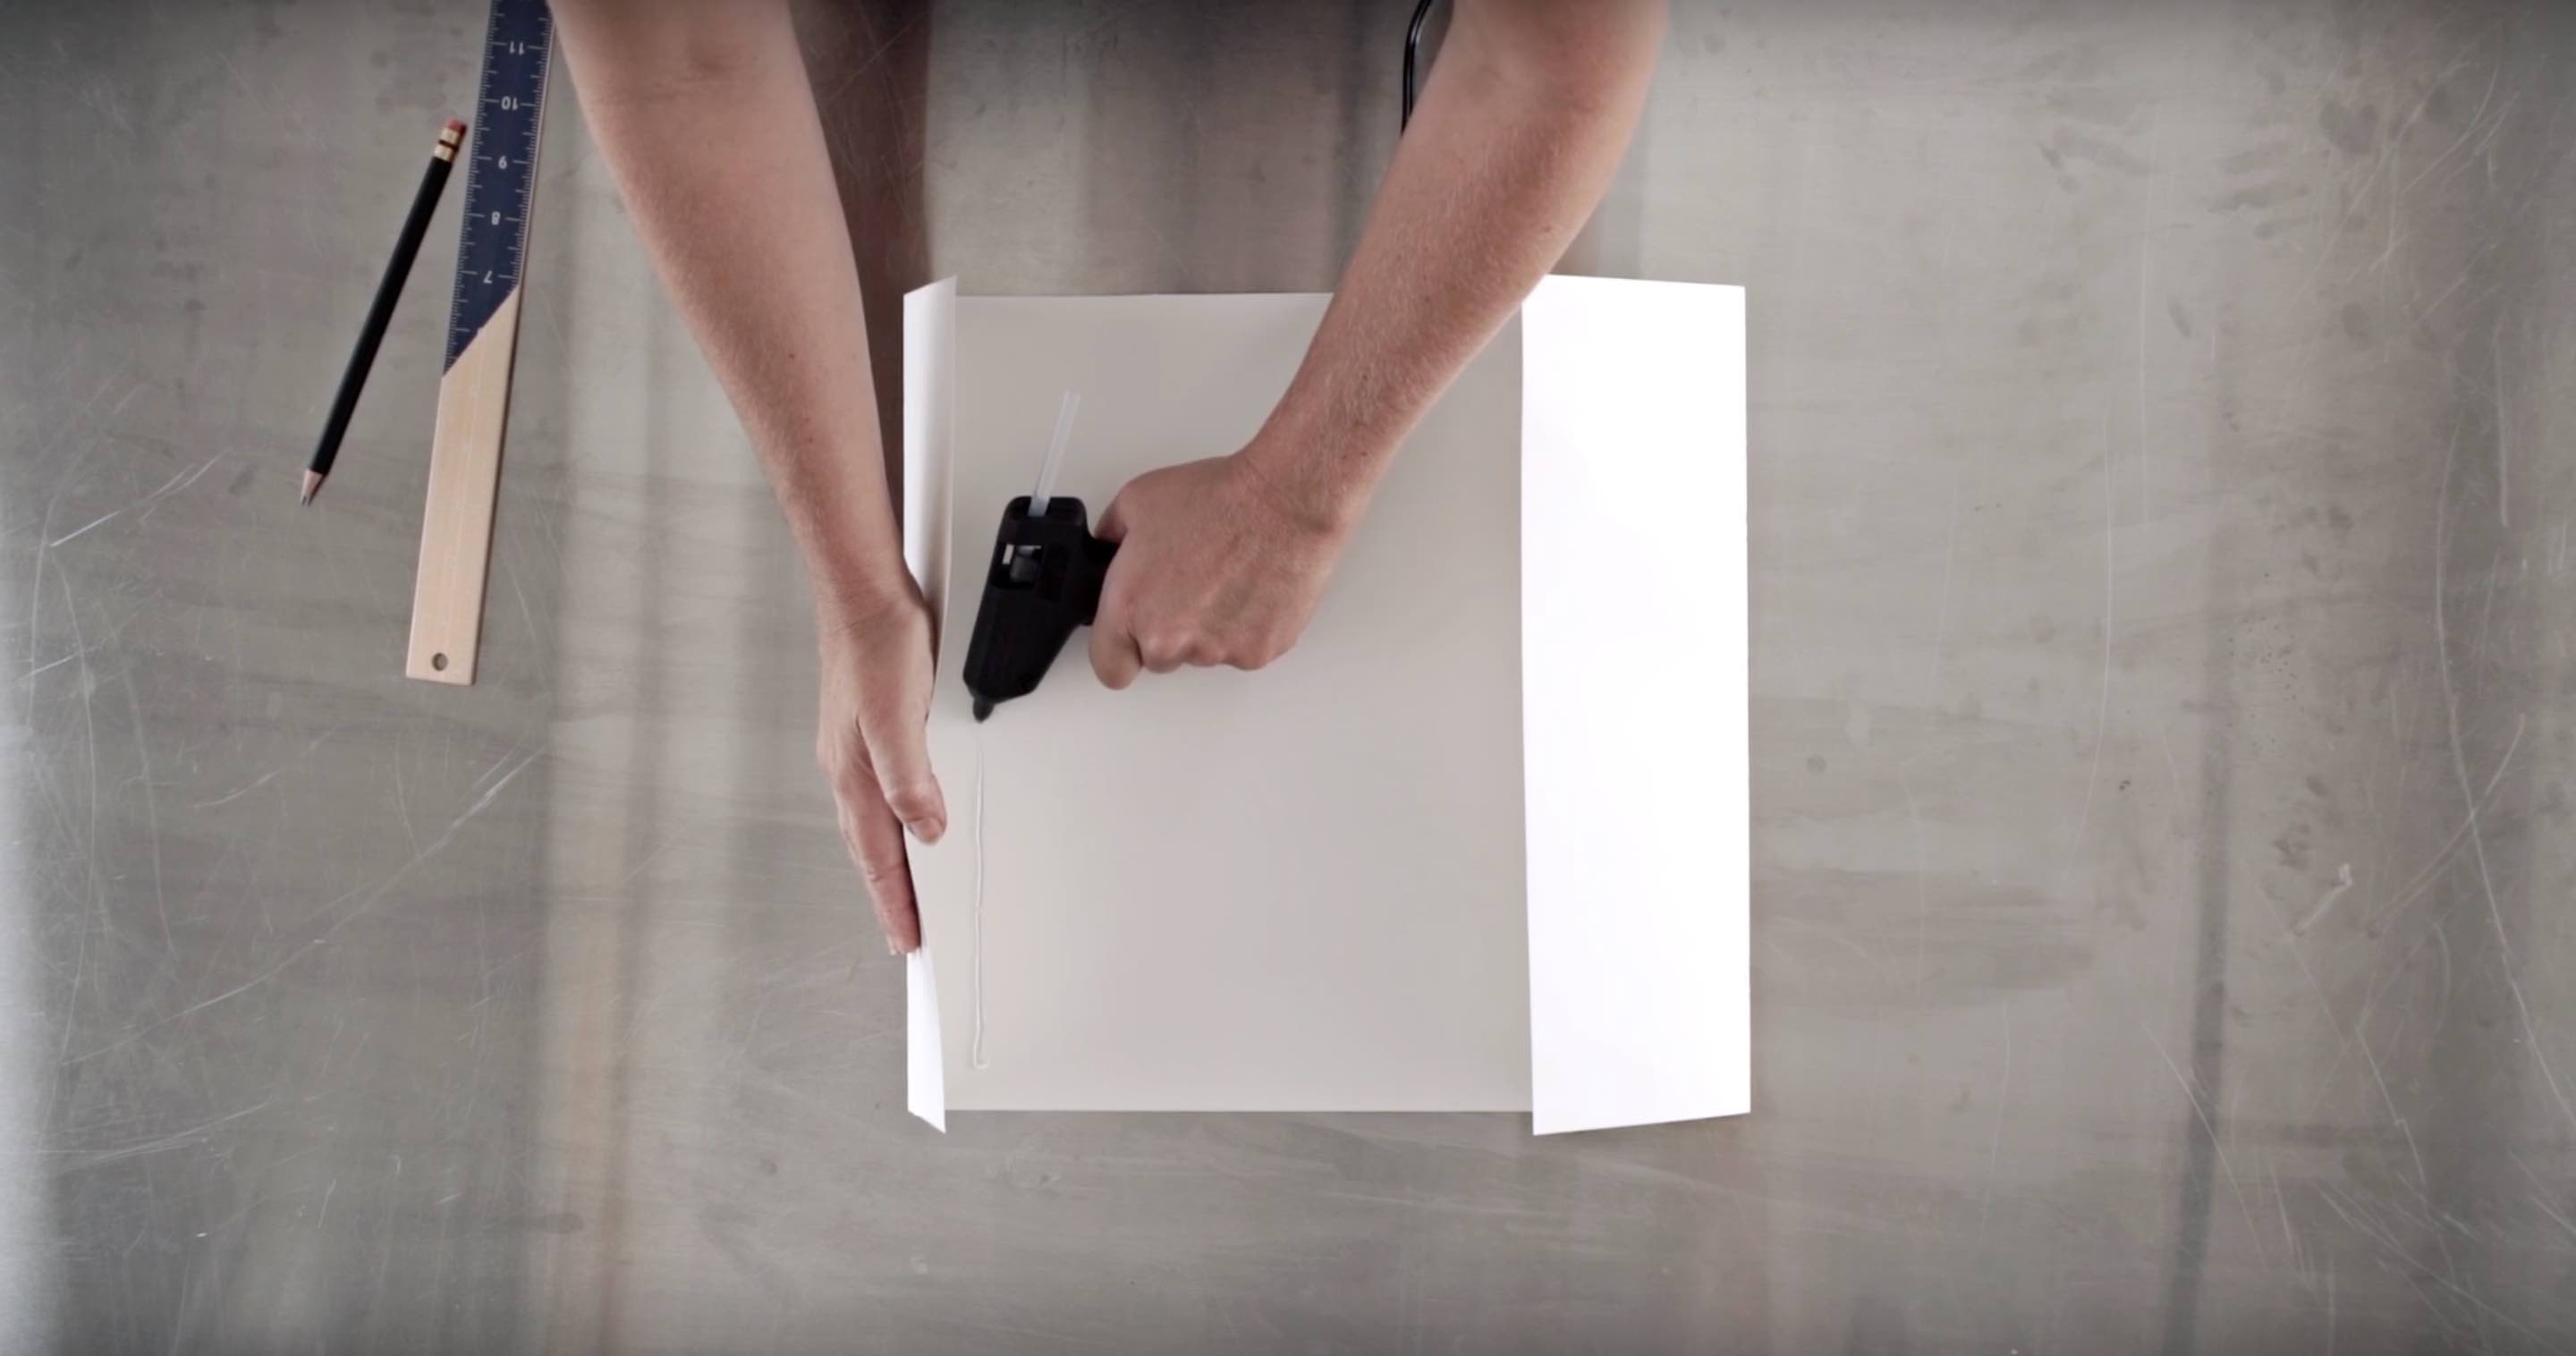
Fold a poster board in half and using a straight edge cut along the seam(creating two 14” pieces).
Step 4
Fold one end at 4.5 inches and hot glue.

Fold the other end at three inches and hot glue.
Step 5
Place side A flat on a surface and Duct Tape™ or hot glue the poster board C onto the front edge of A.
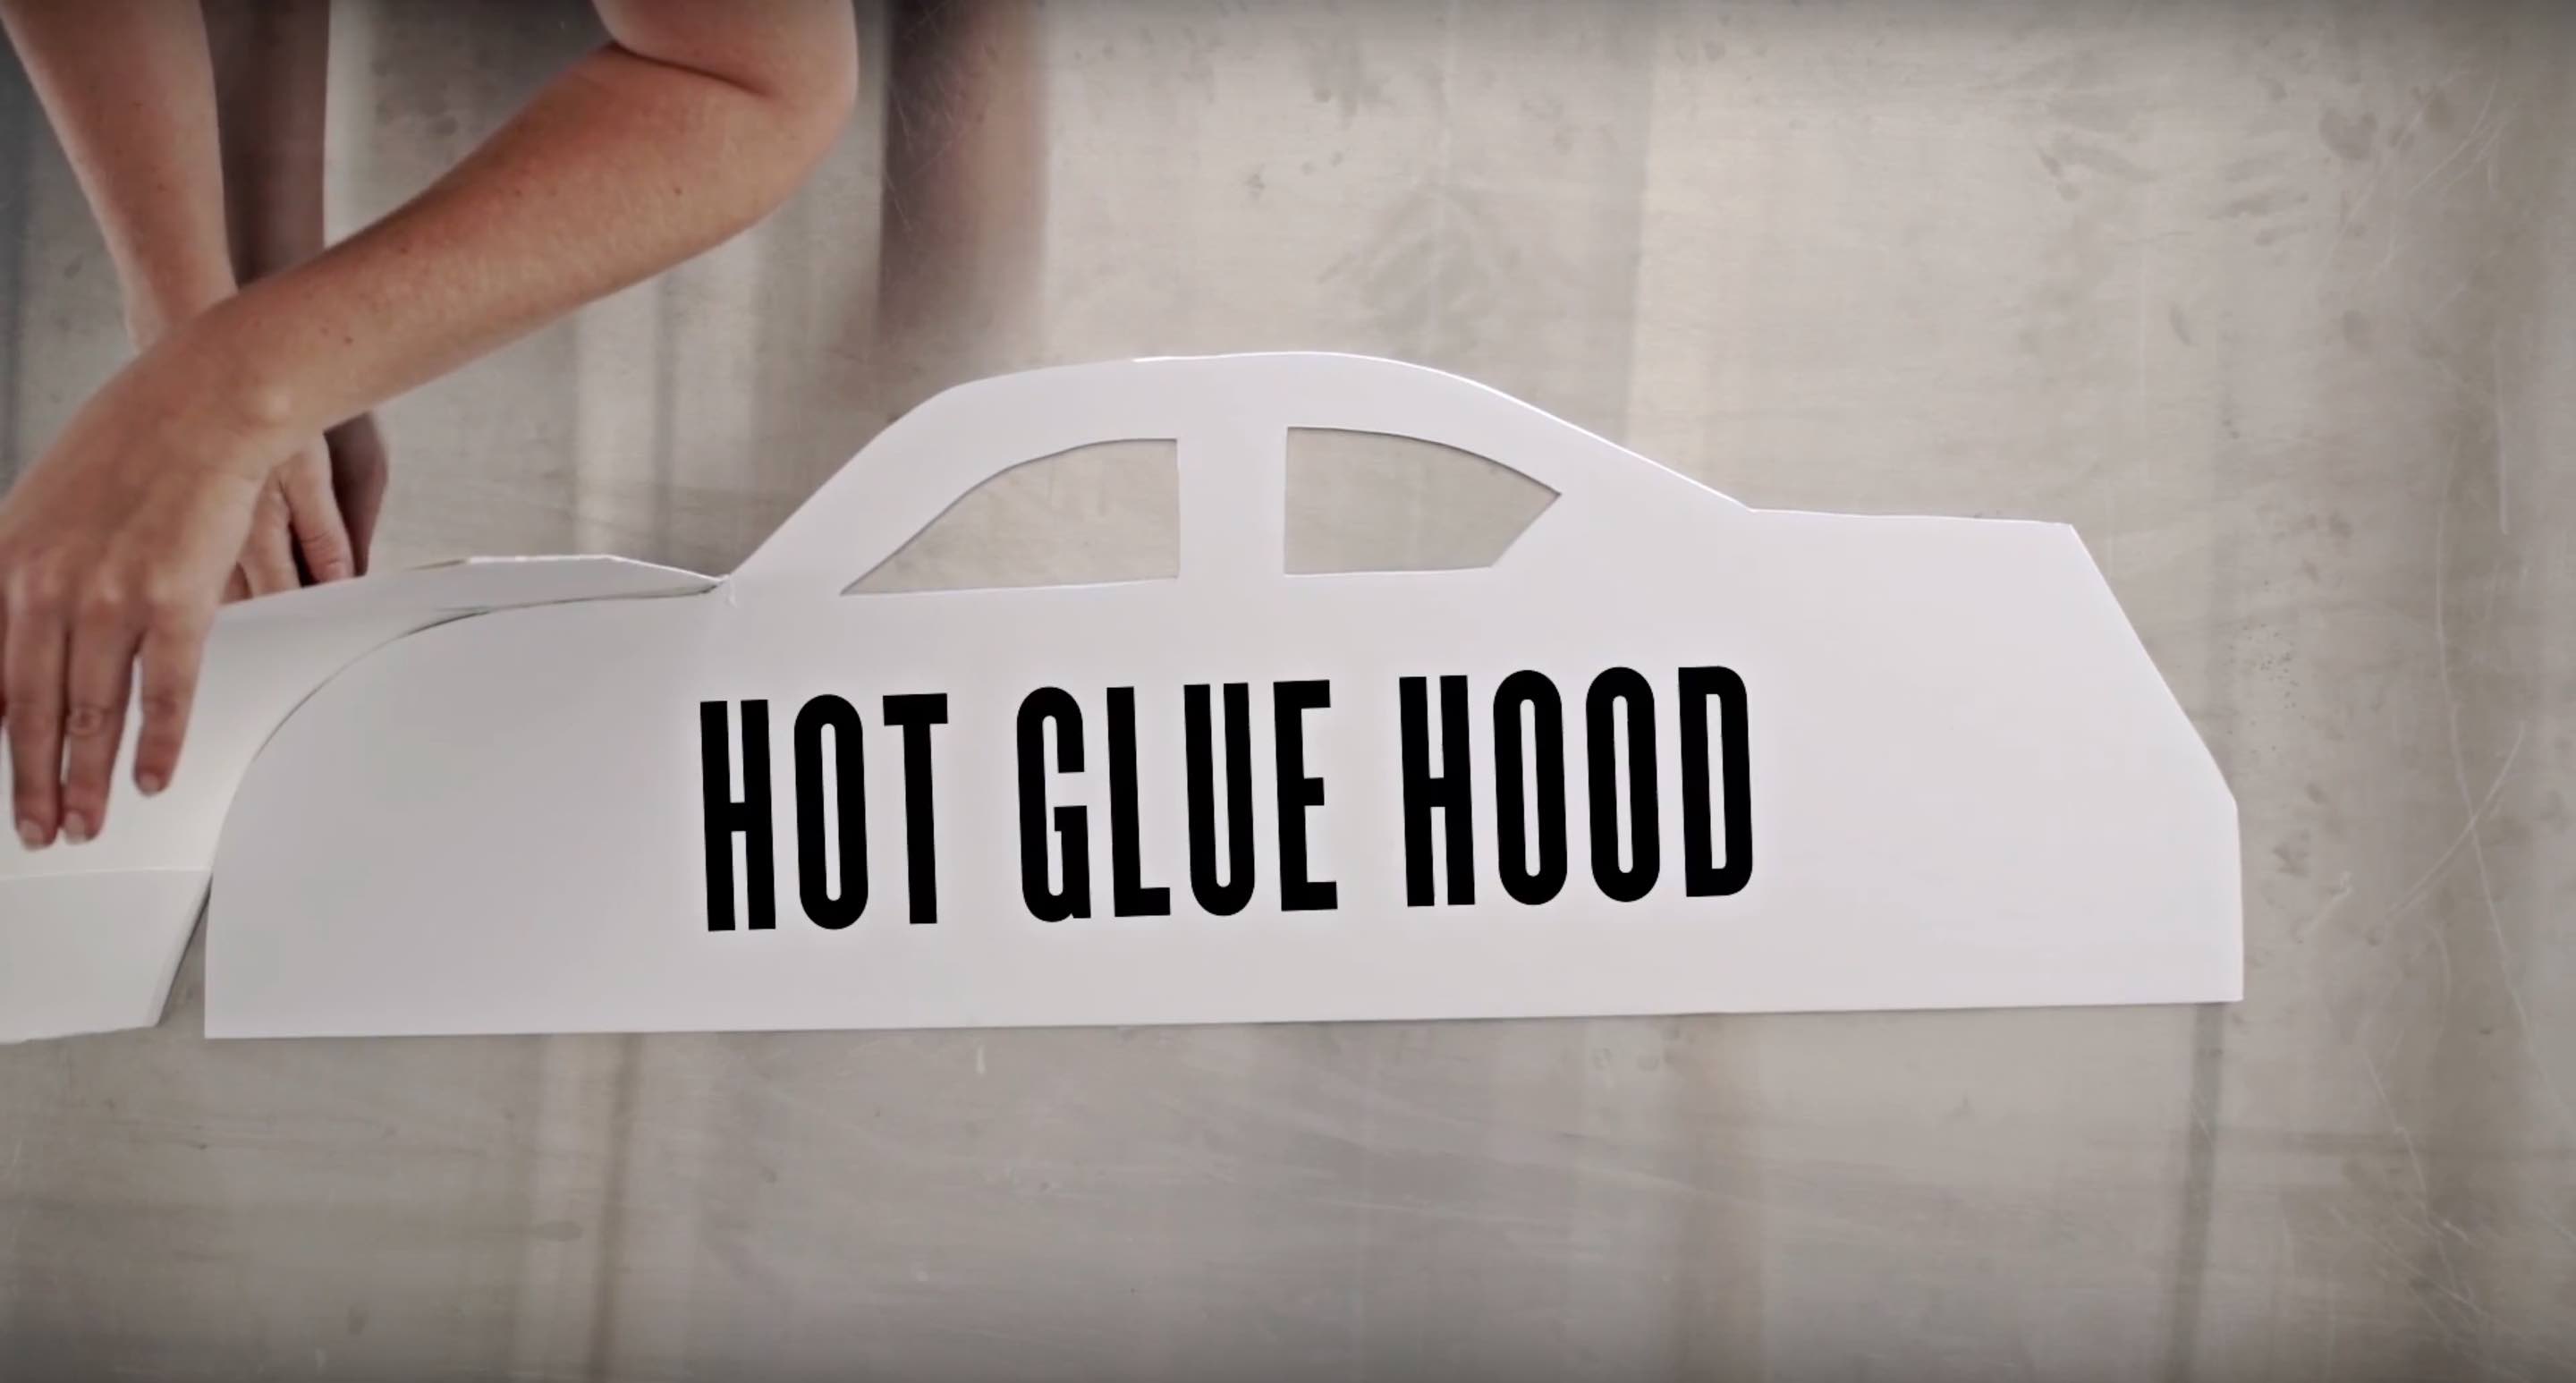
Then tape or hot glue D to the back edge of A.
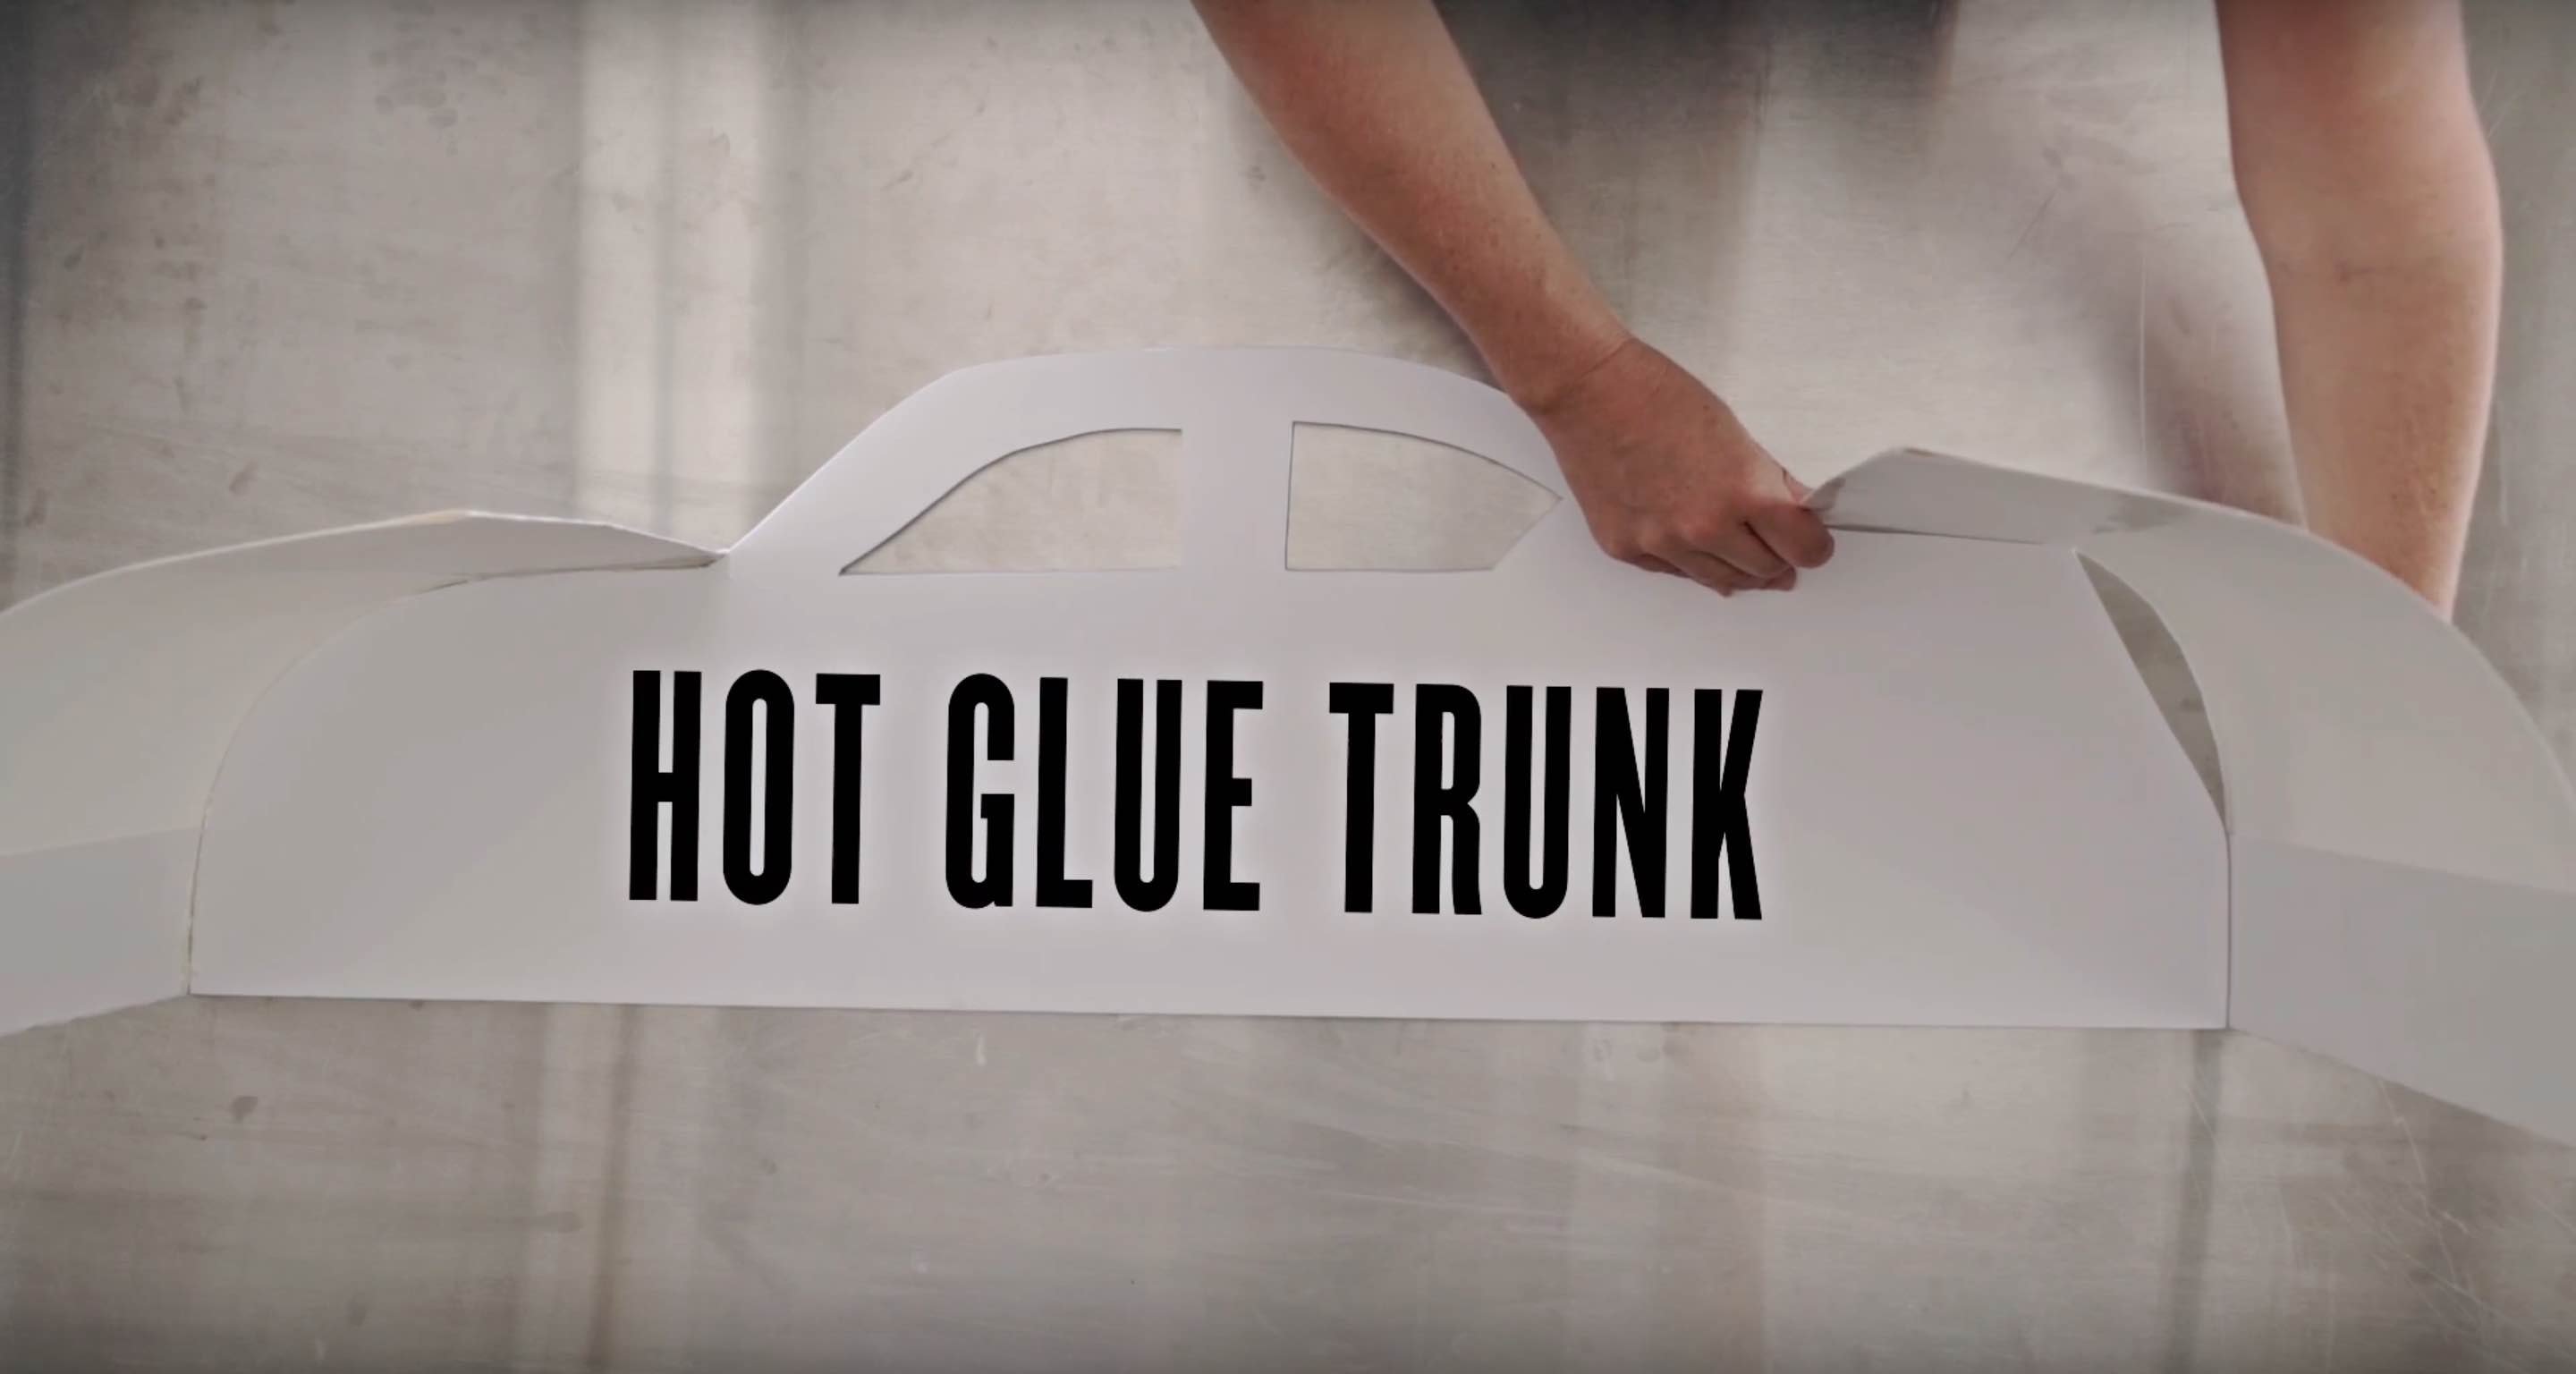
Step 6
Place side B flat on the surface and place side A on top. Tape C/D to B’s edge.
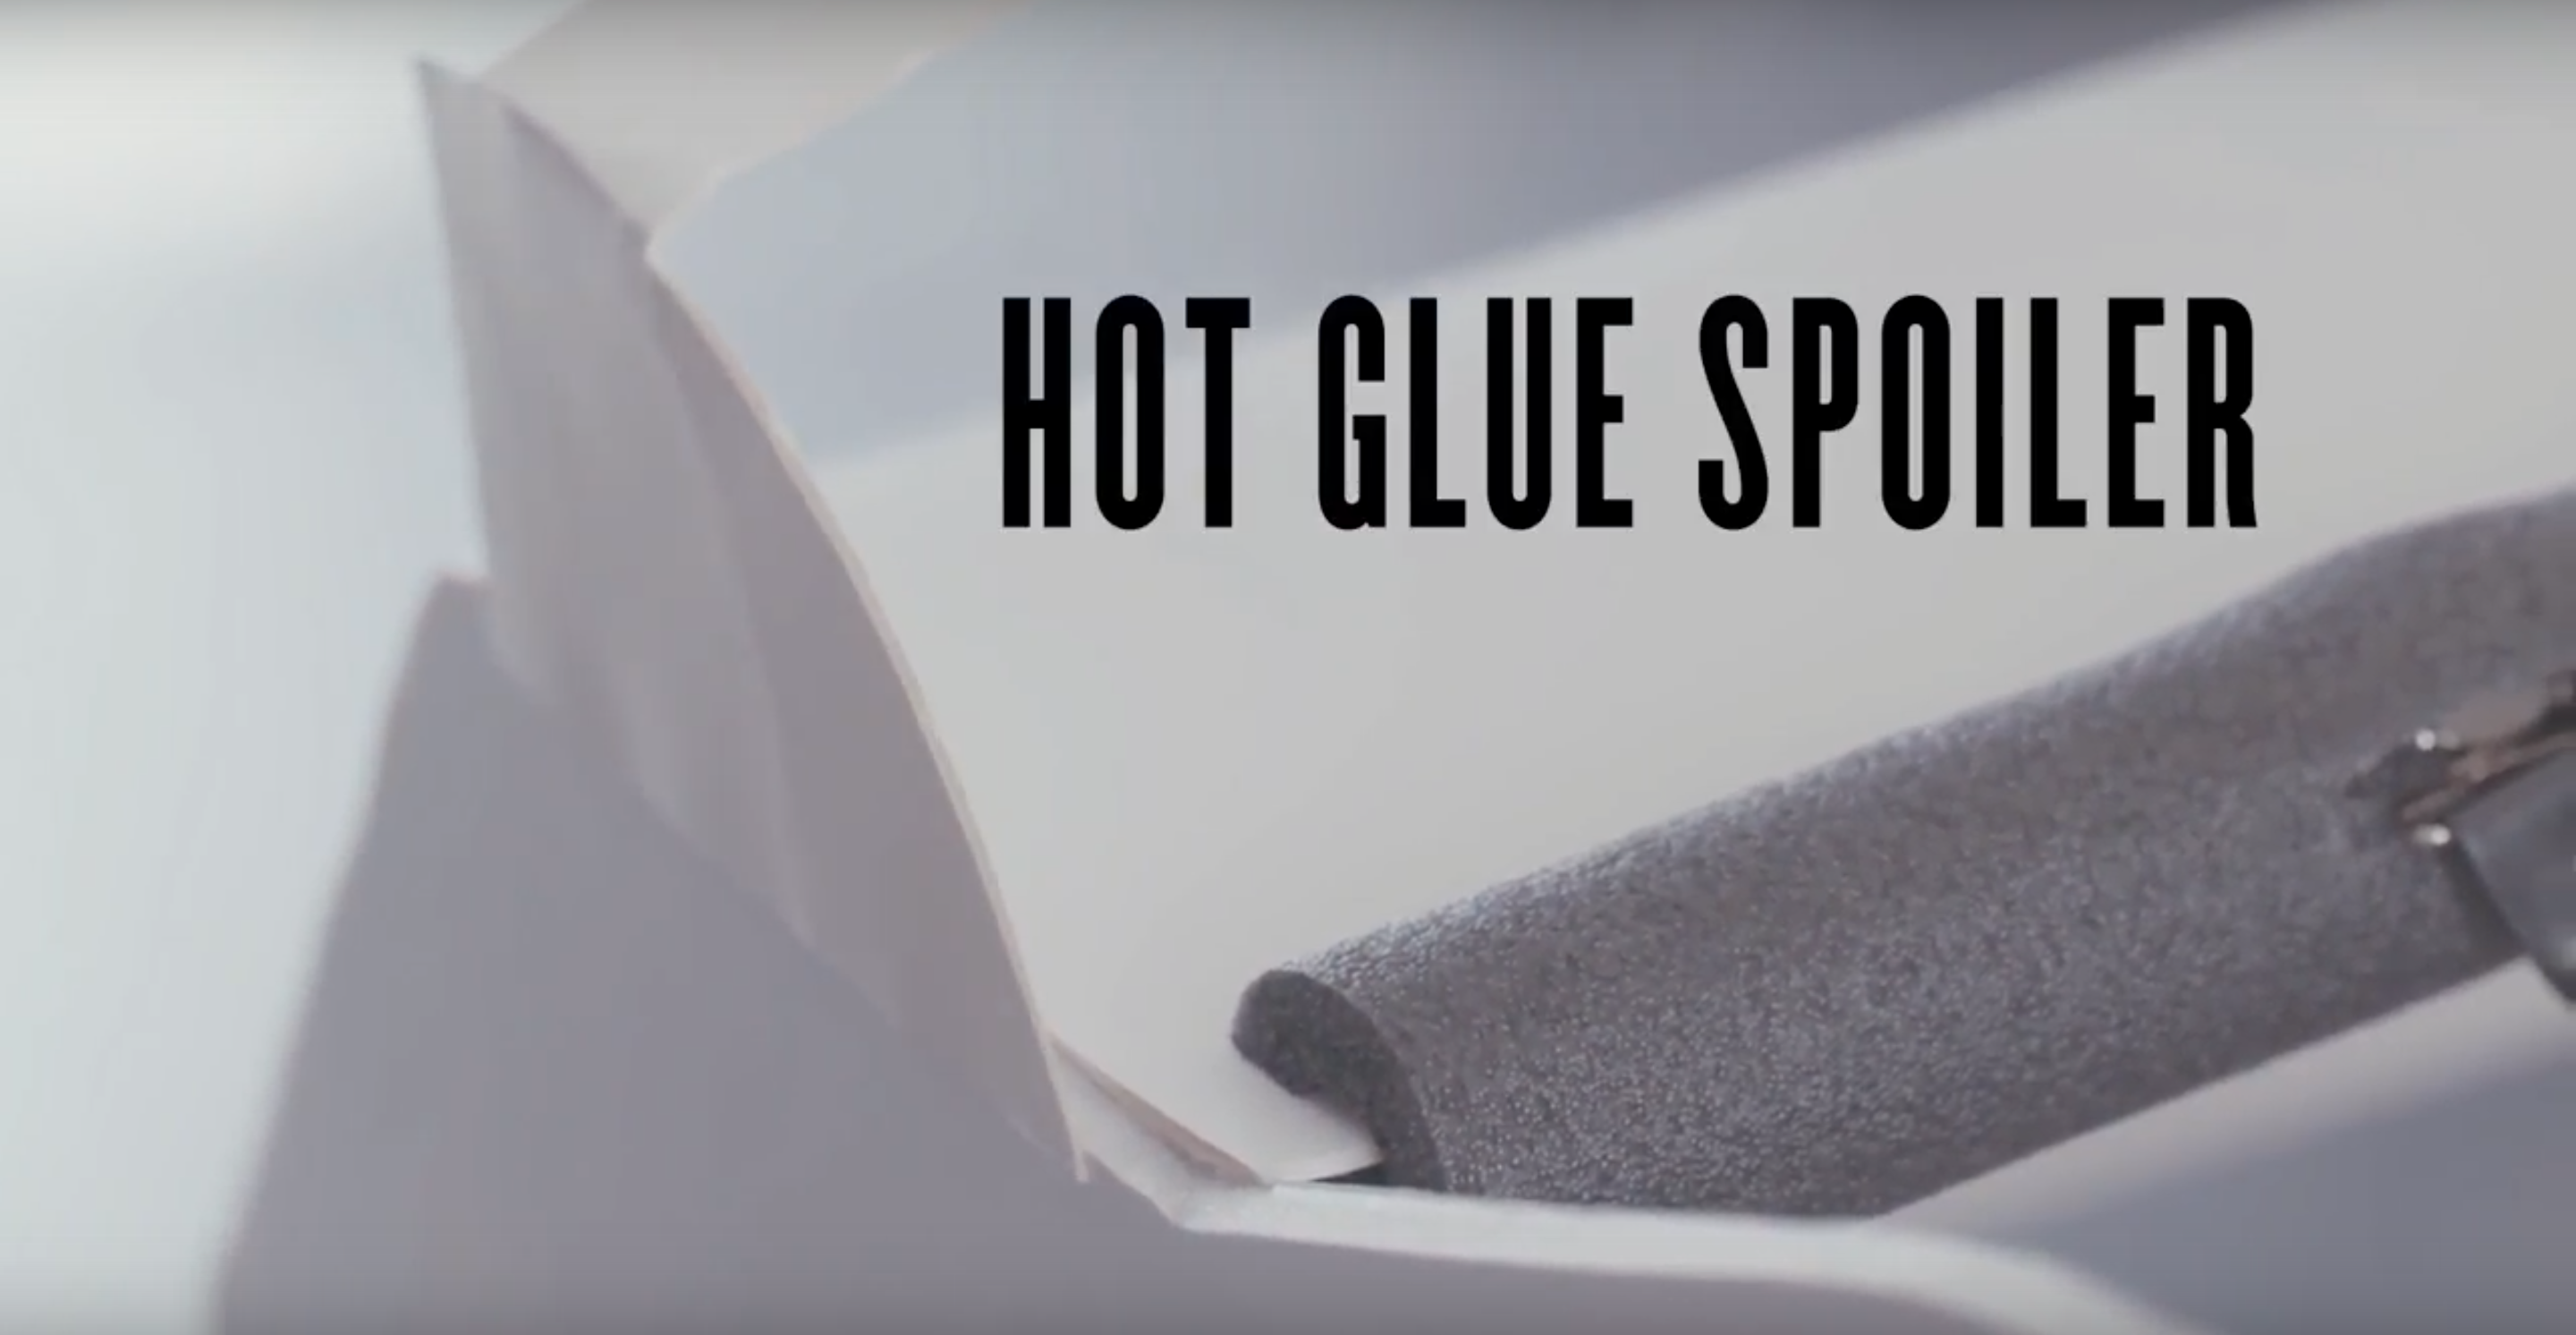
Step 7
Fold a piece of 12” x 23” poster in 1/2 and tape/hot glue to add support to the piece of poster.
Trace and cut the spoiler out using an Exact-o-Knife™.

Glue the spoiler to the trunk of the car.
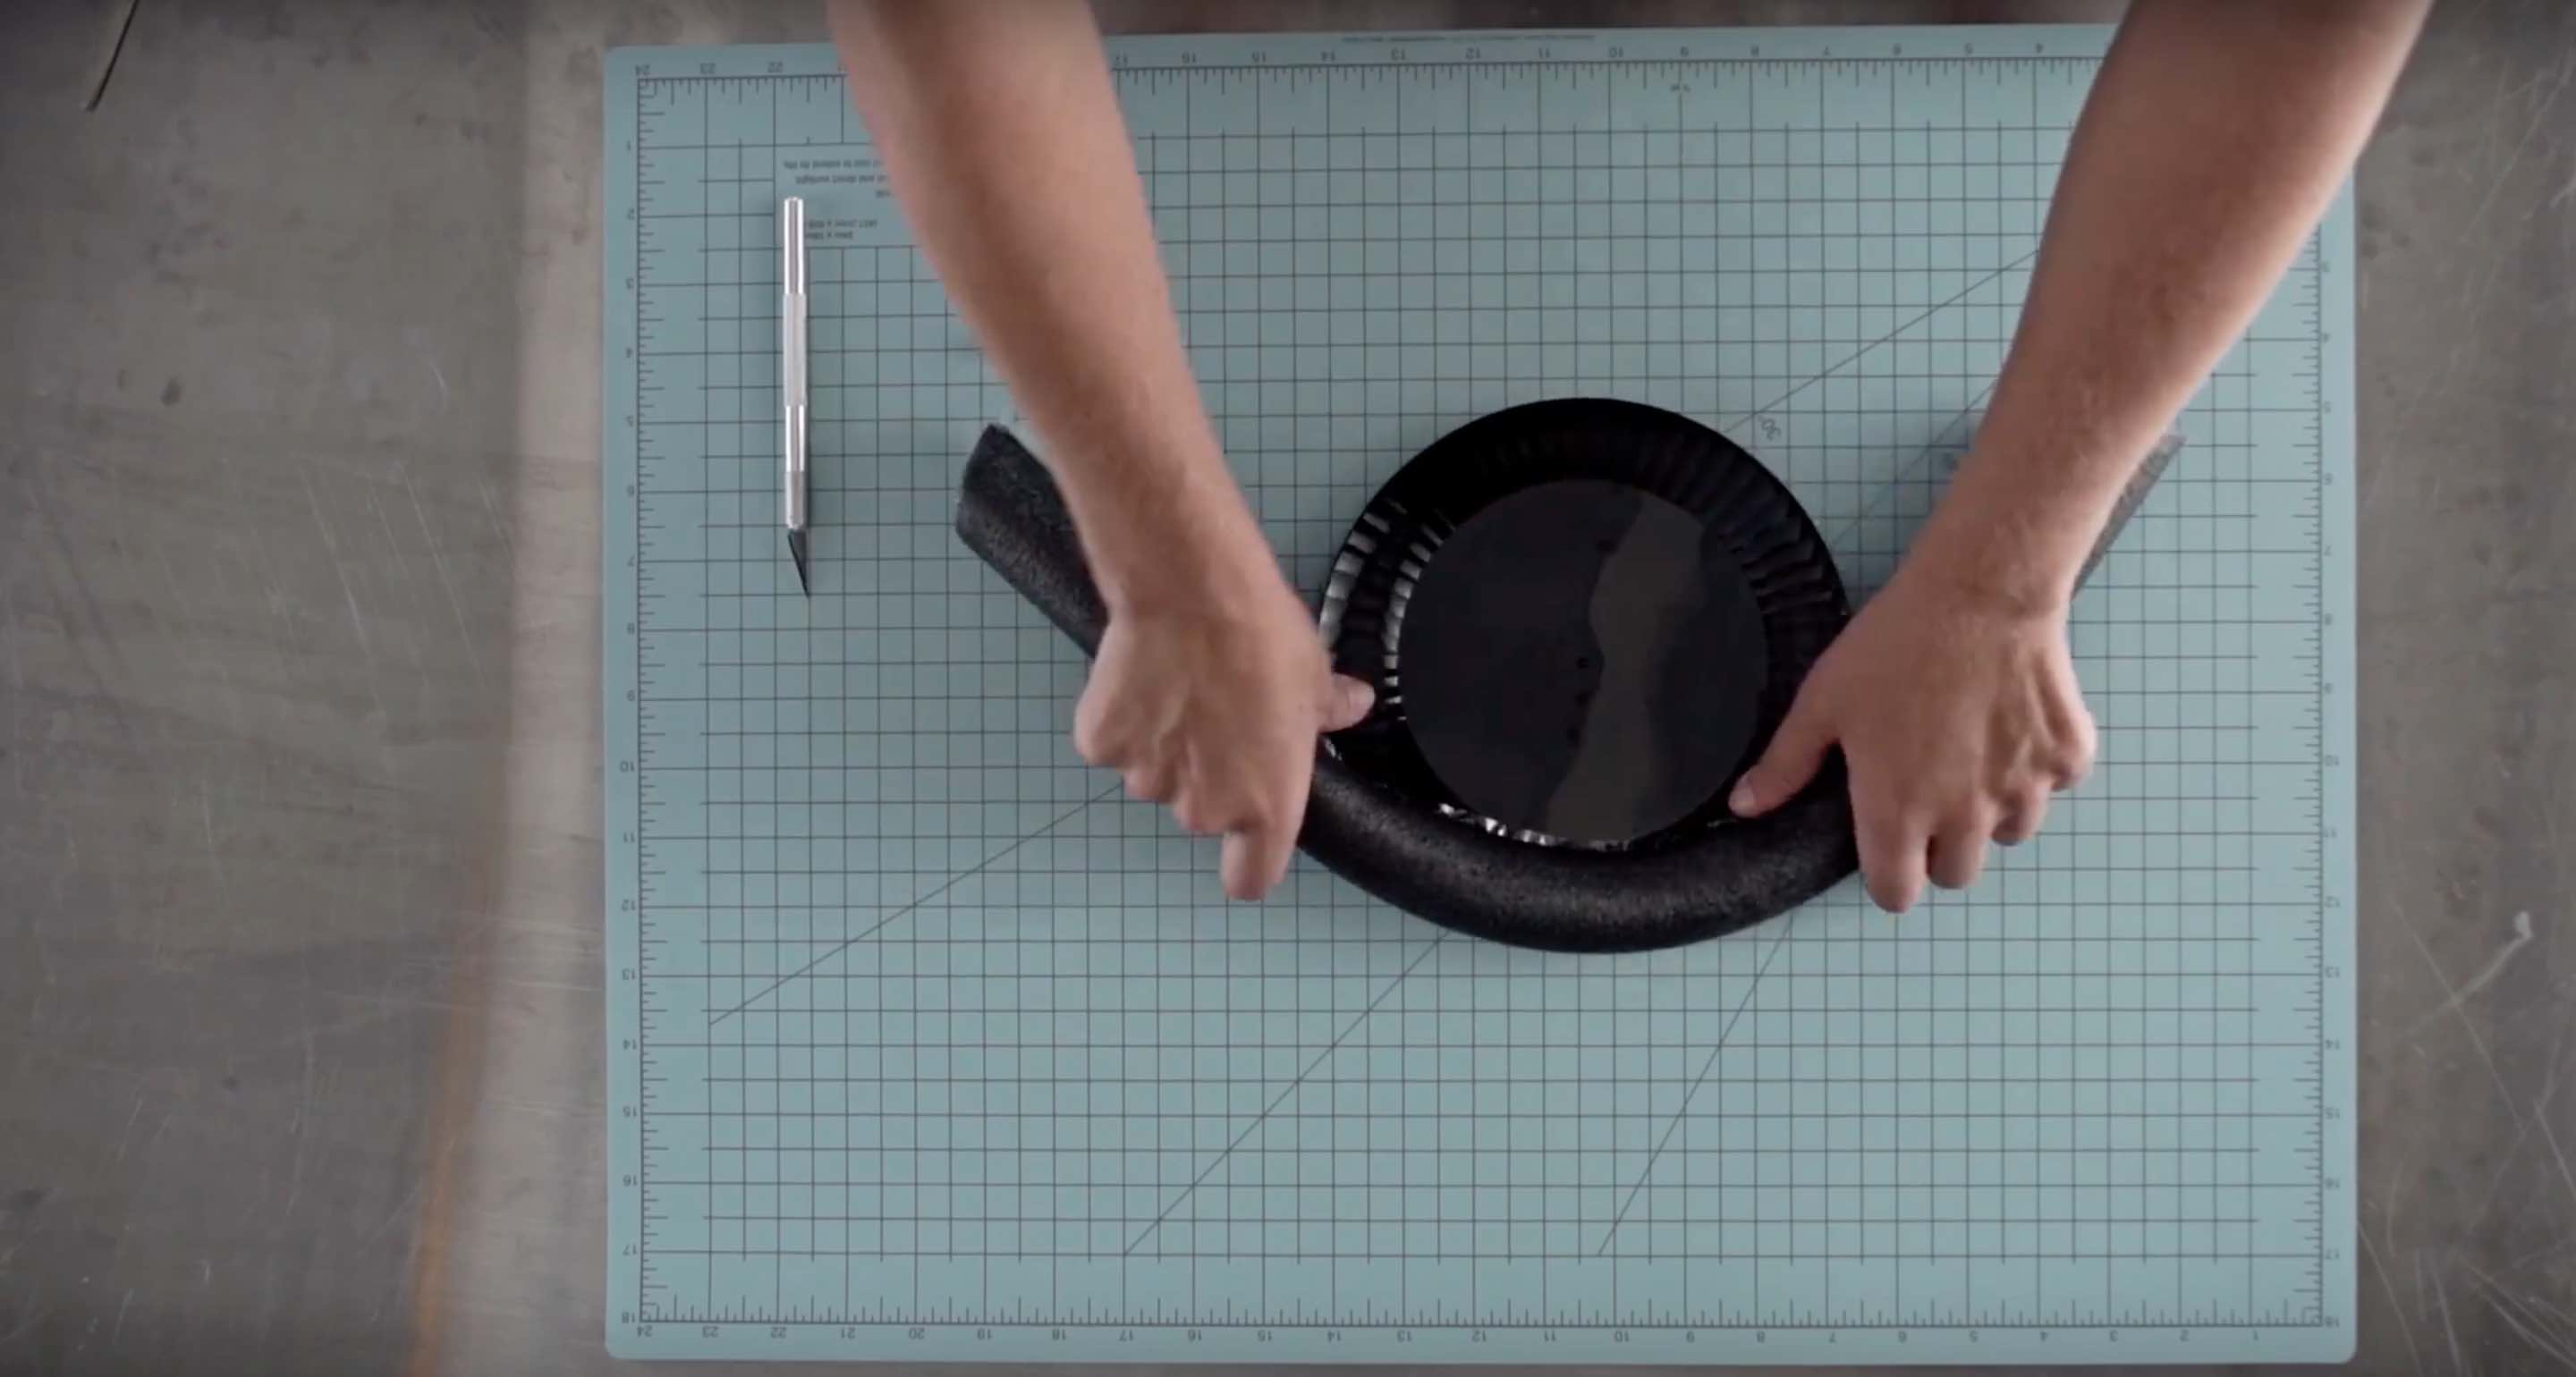
Step 8
Cut a 23” piece of pipe insulation to wrap the 7.5” plastic plate, for the steering wheel, making sure to cut the top and bottom at an angle so they fit together seamlessly.
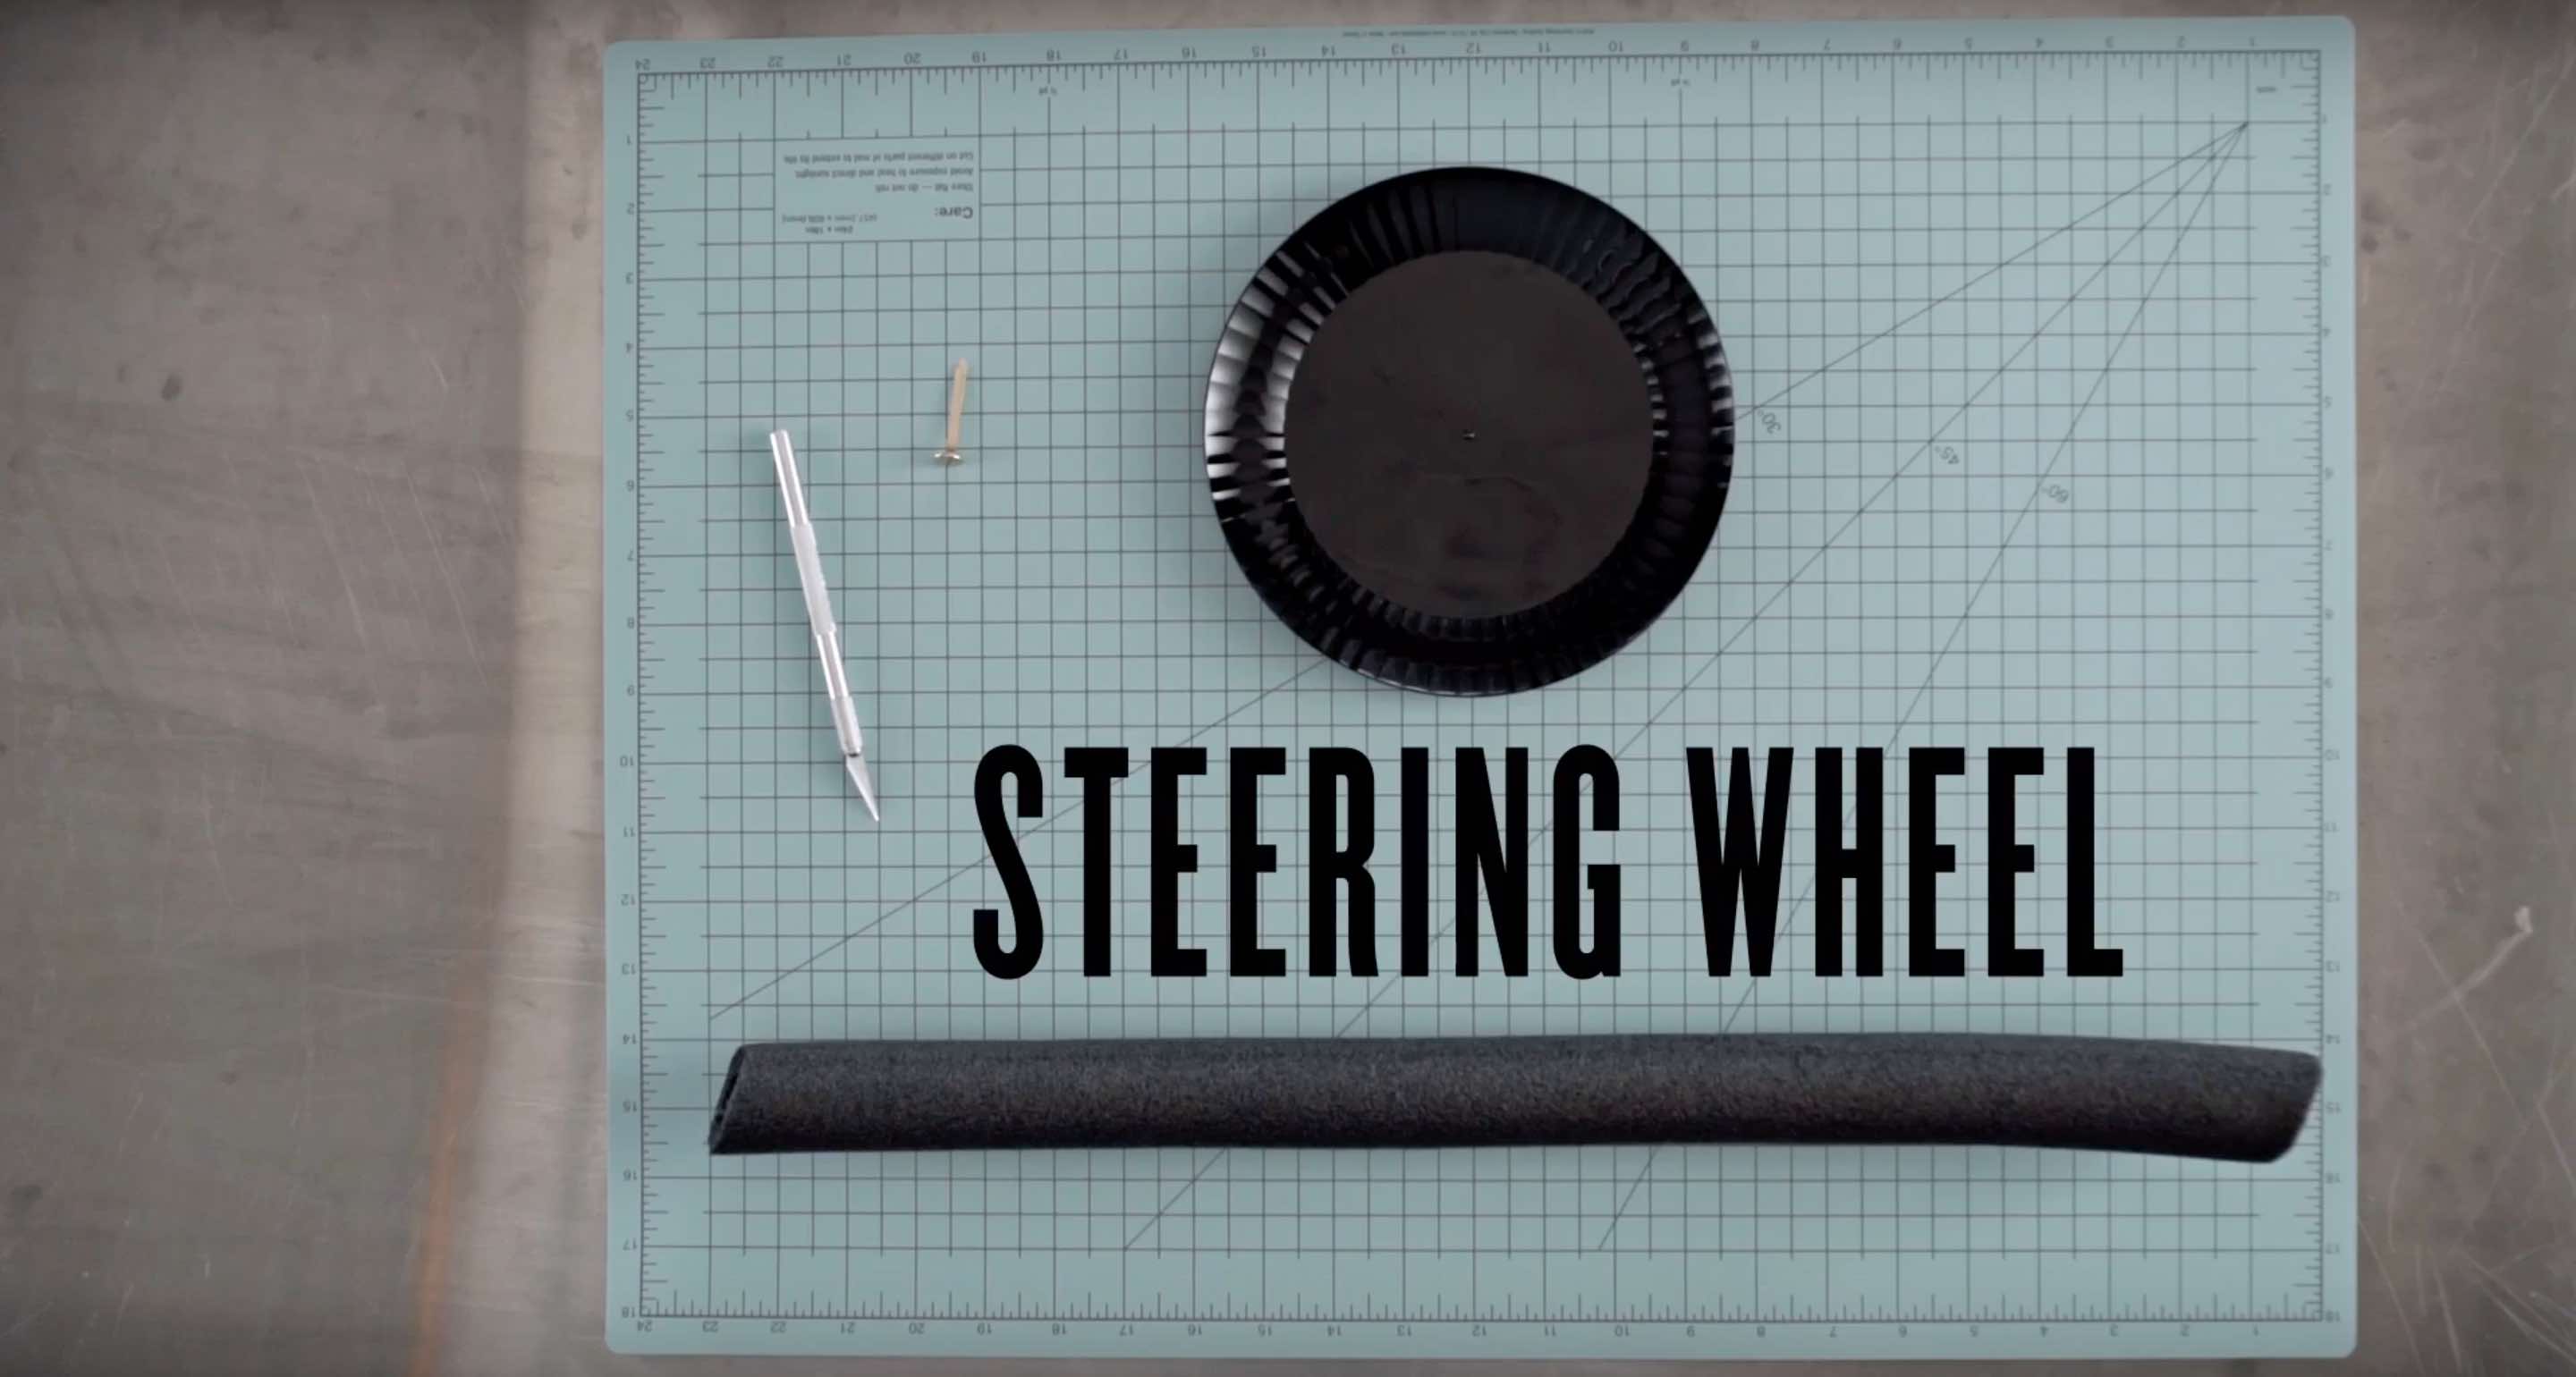
Wrap the cut piece around the plate & remove the plastic backing to secure the insulation.
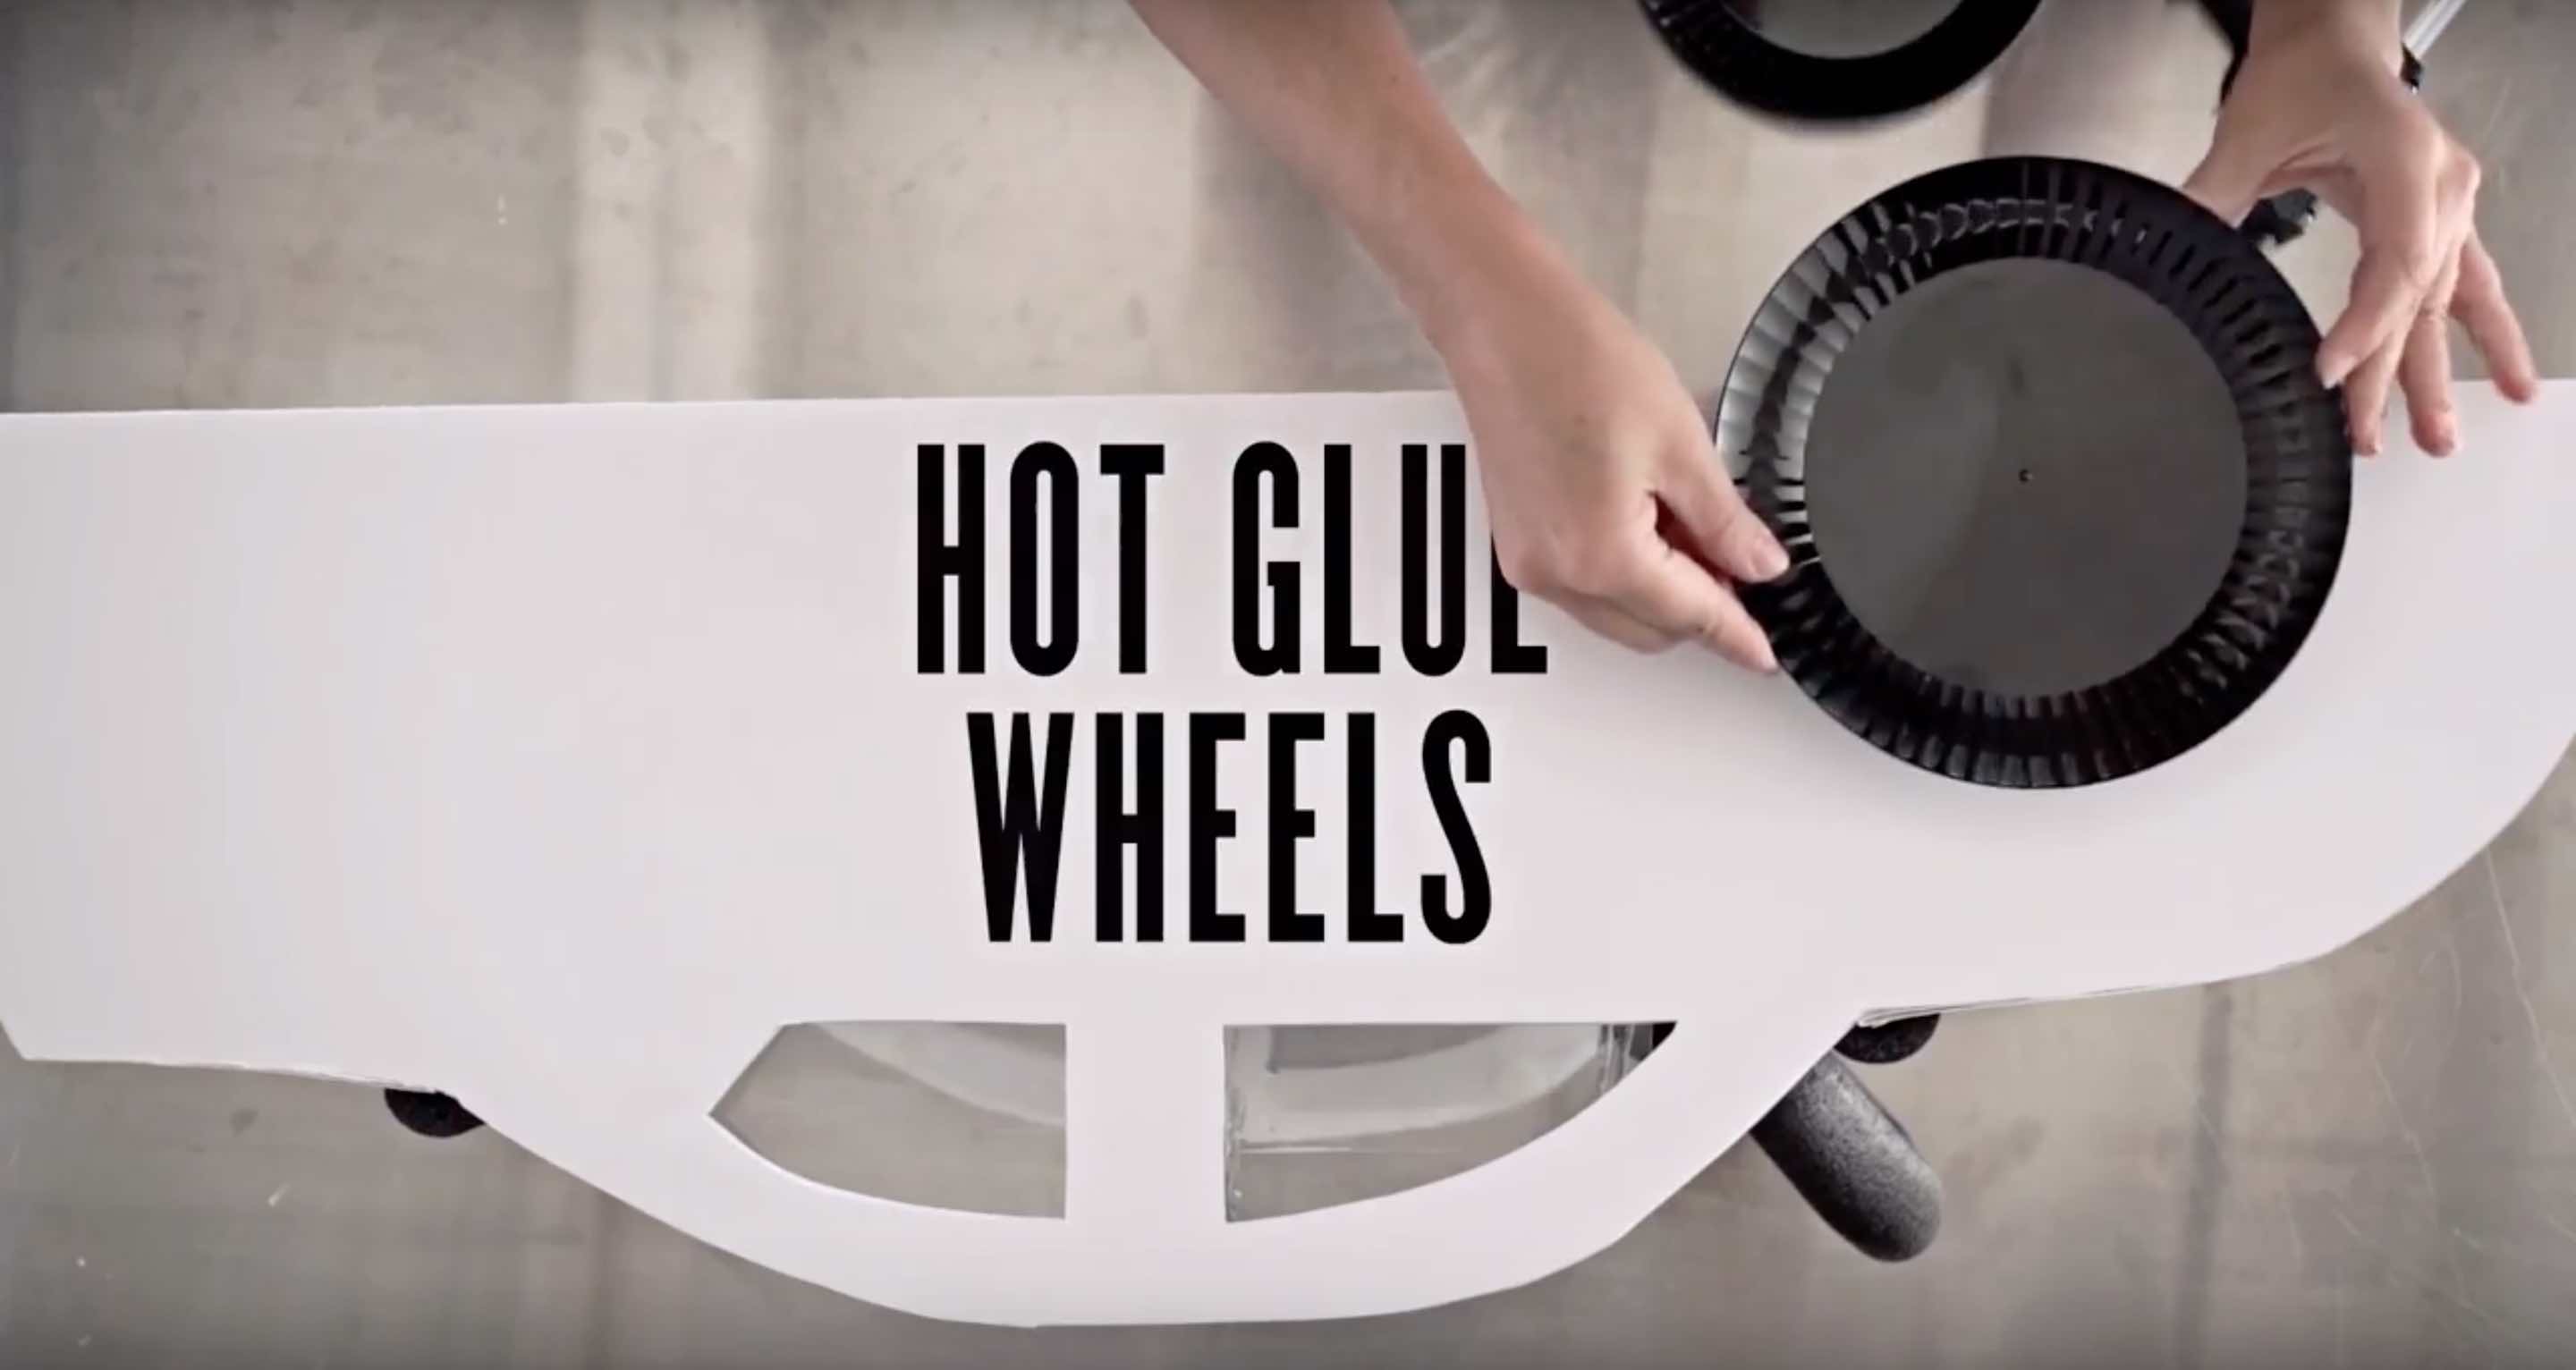
Step 9
Attach the plastic plates to the sides as the wheels, using tape/hot glue gun.
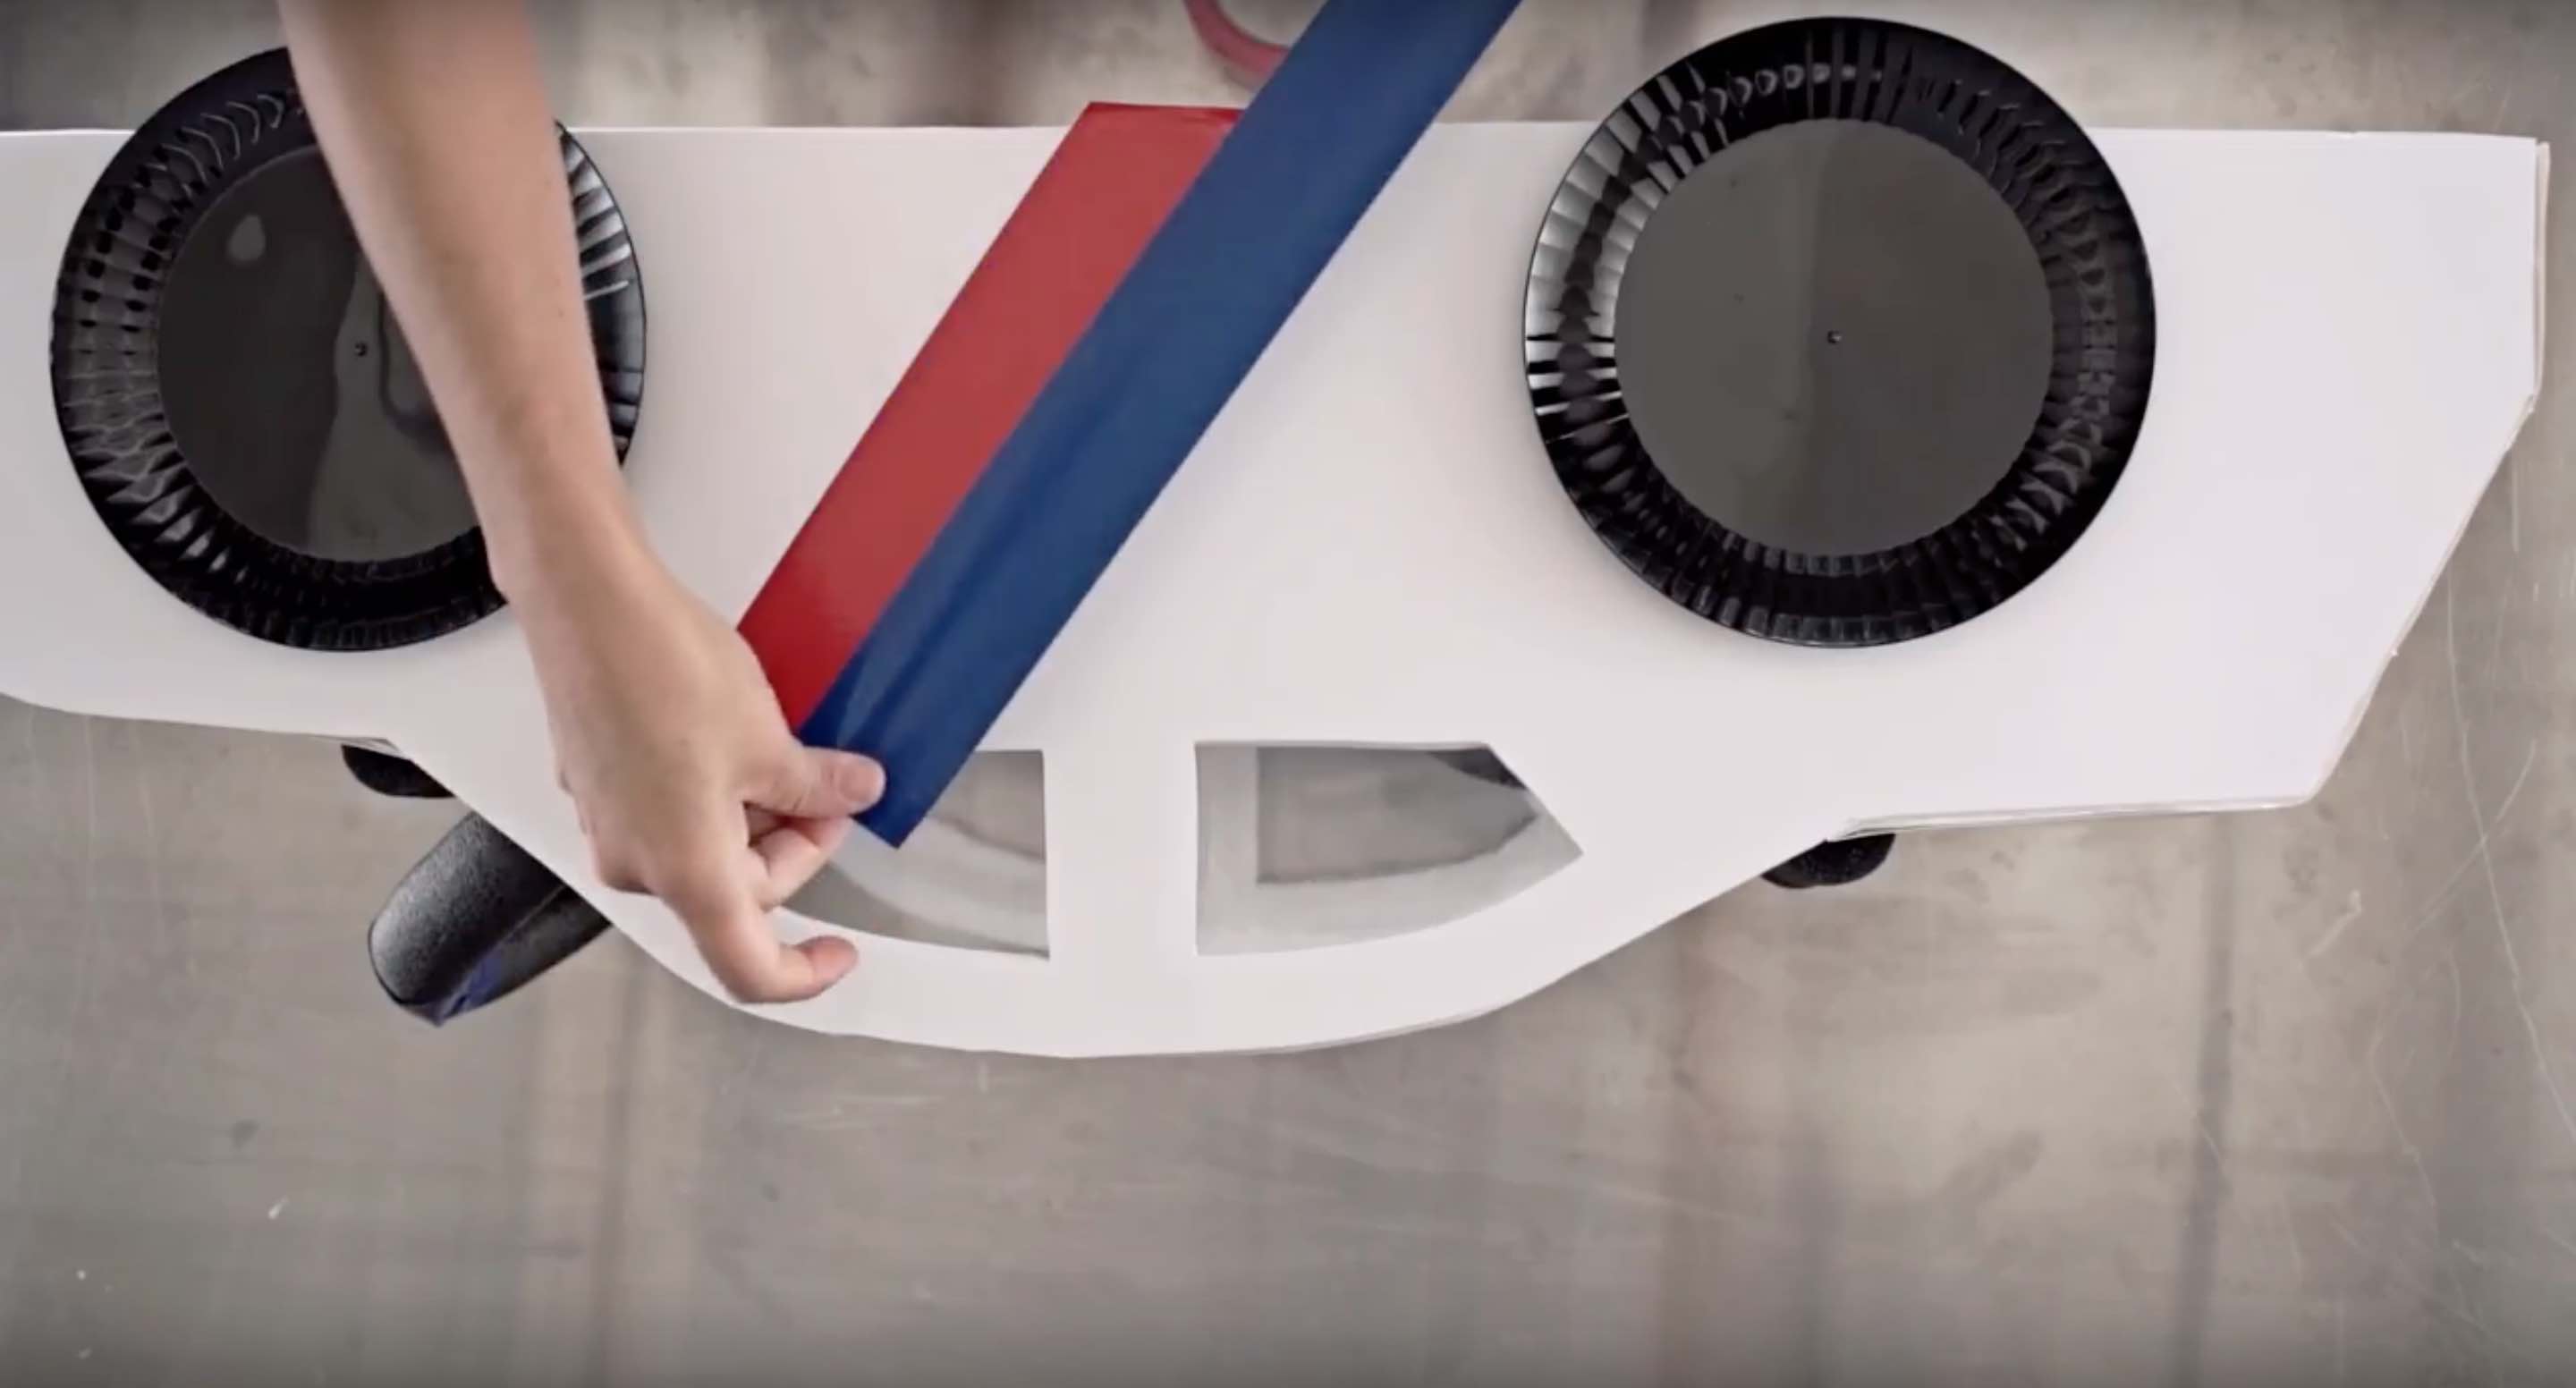
Step 10
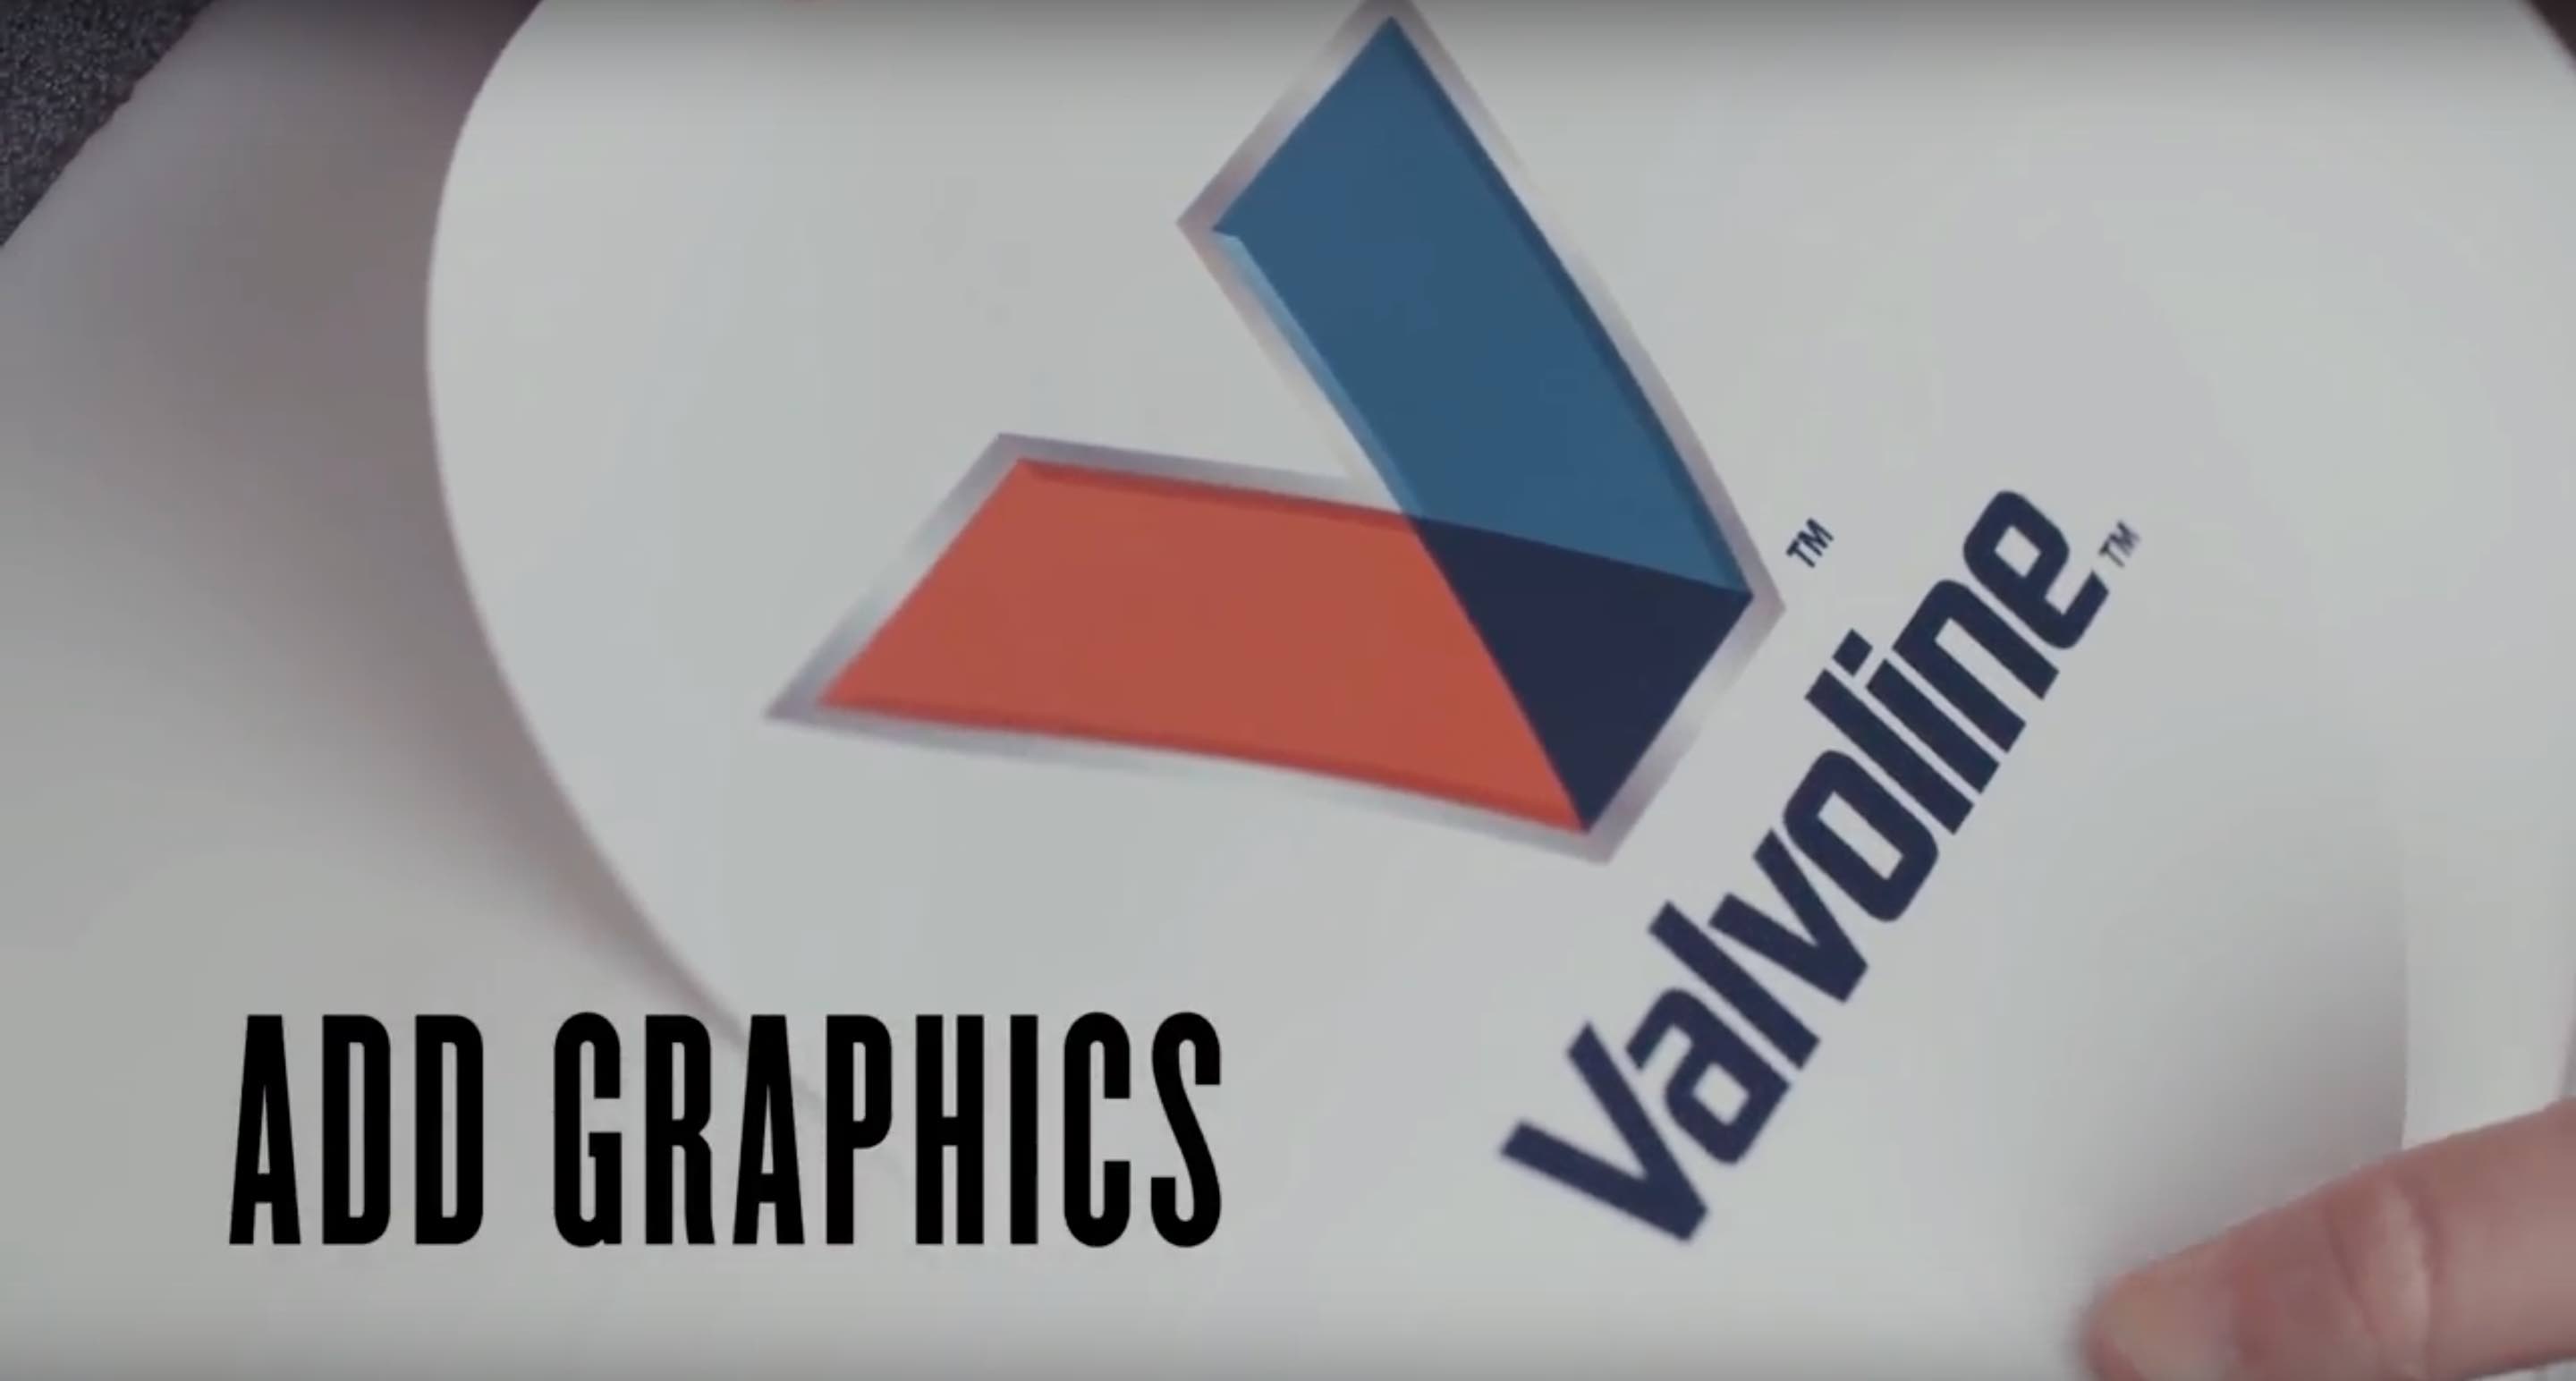
Place one stripe of each color blue and red Duct Tape™ along the side.
Print and apply the stickers.
Step 11
Cut the bottoms out of two red plastic cups

Tape or hot glue them to the back as taillights
Tape or glue the LED headlights in the front.
Step 12
Cut two pieces of self-sealing 1/2”pipe insulation to just under 14 inches for the front and back support rails.
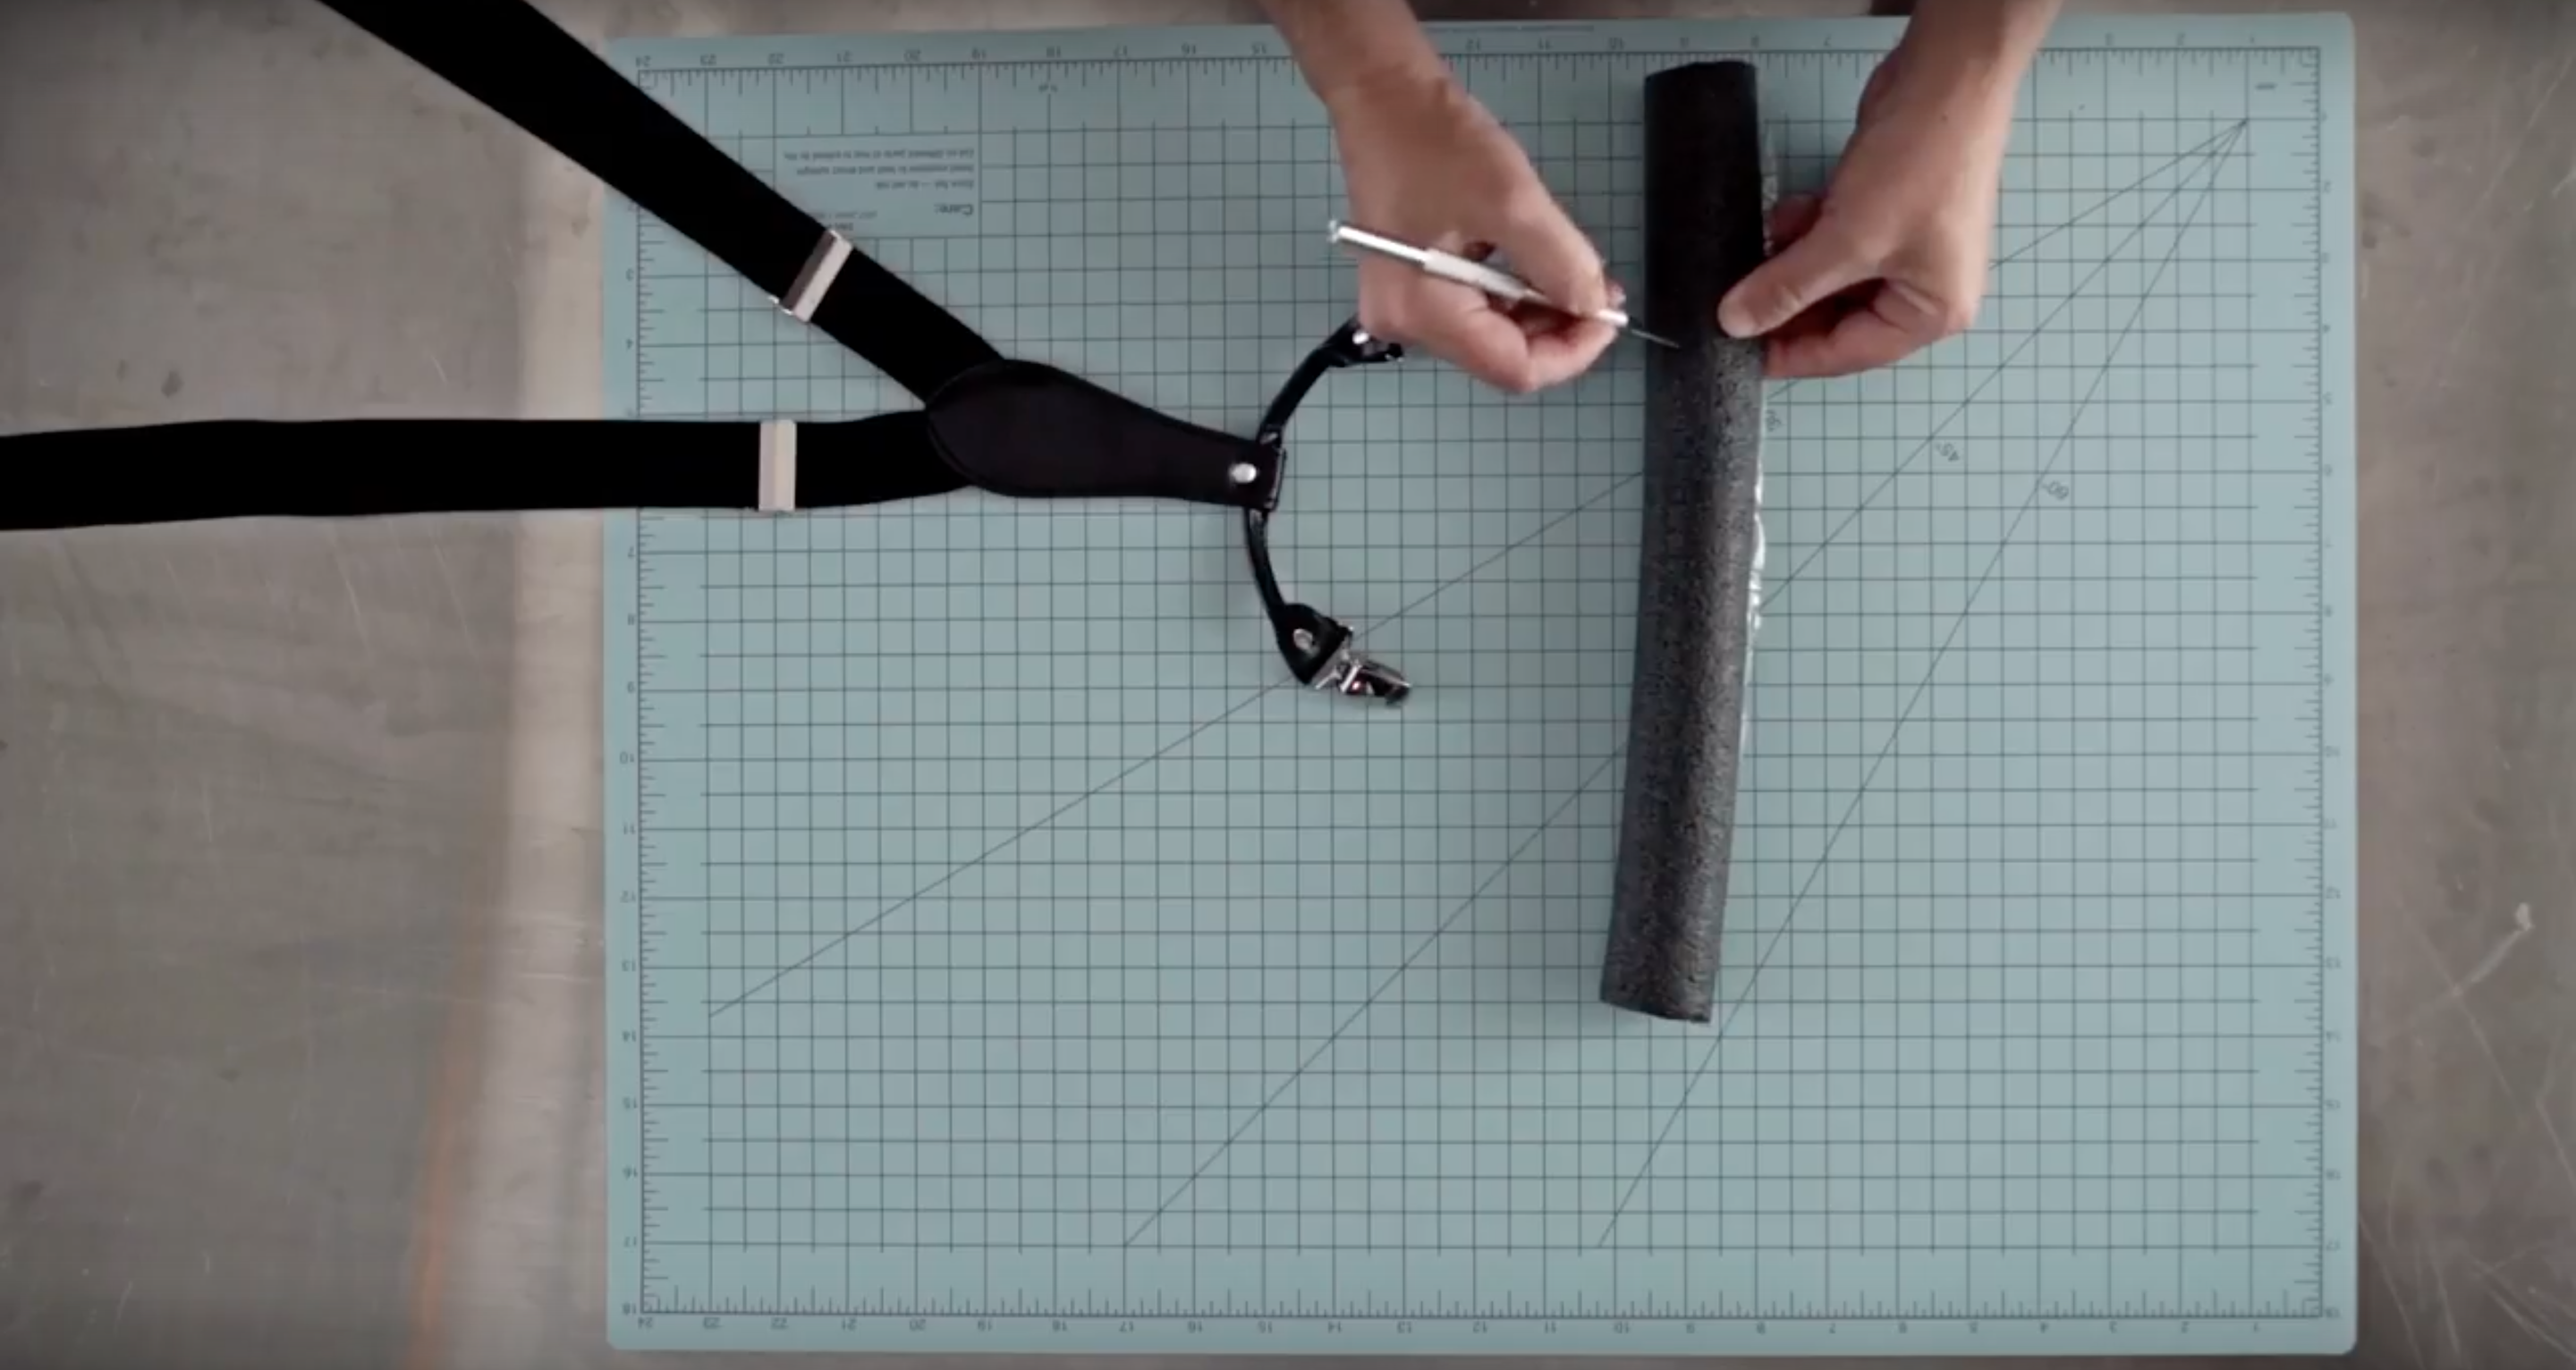
Step 13
Attach suspenders, making sure to cut away one strap so as to look like a seat belt. And that's how you create an easy & budget friendly costume for little racers of all ages!
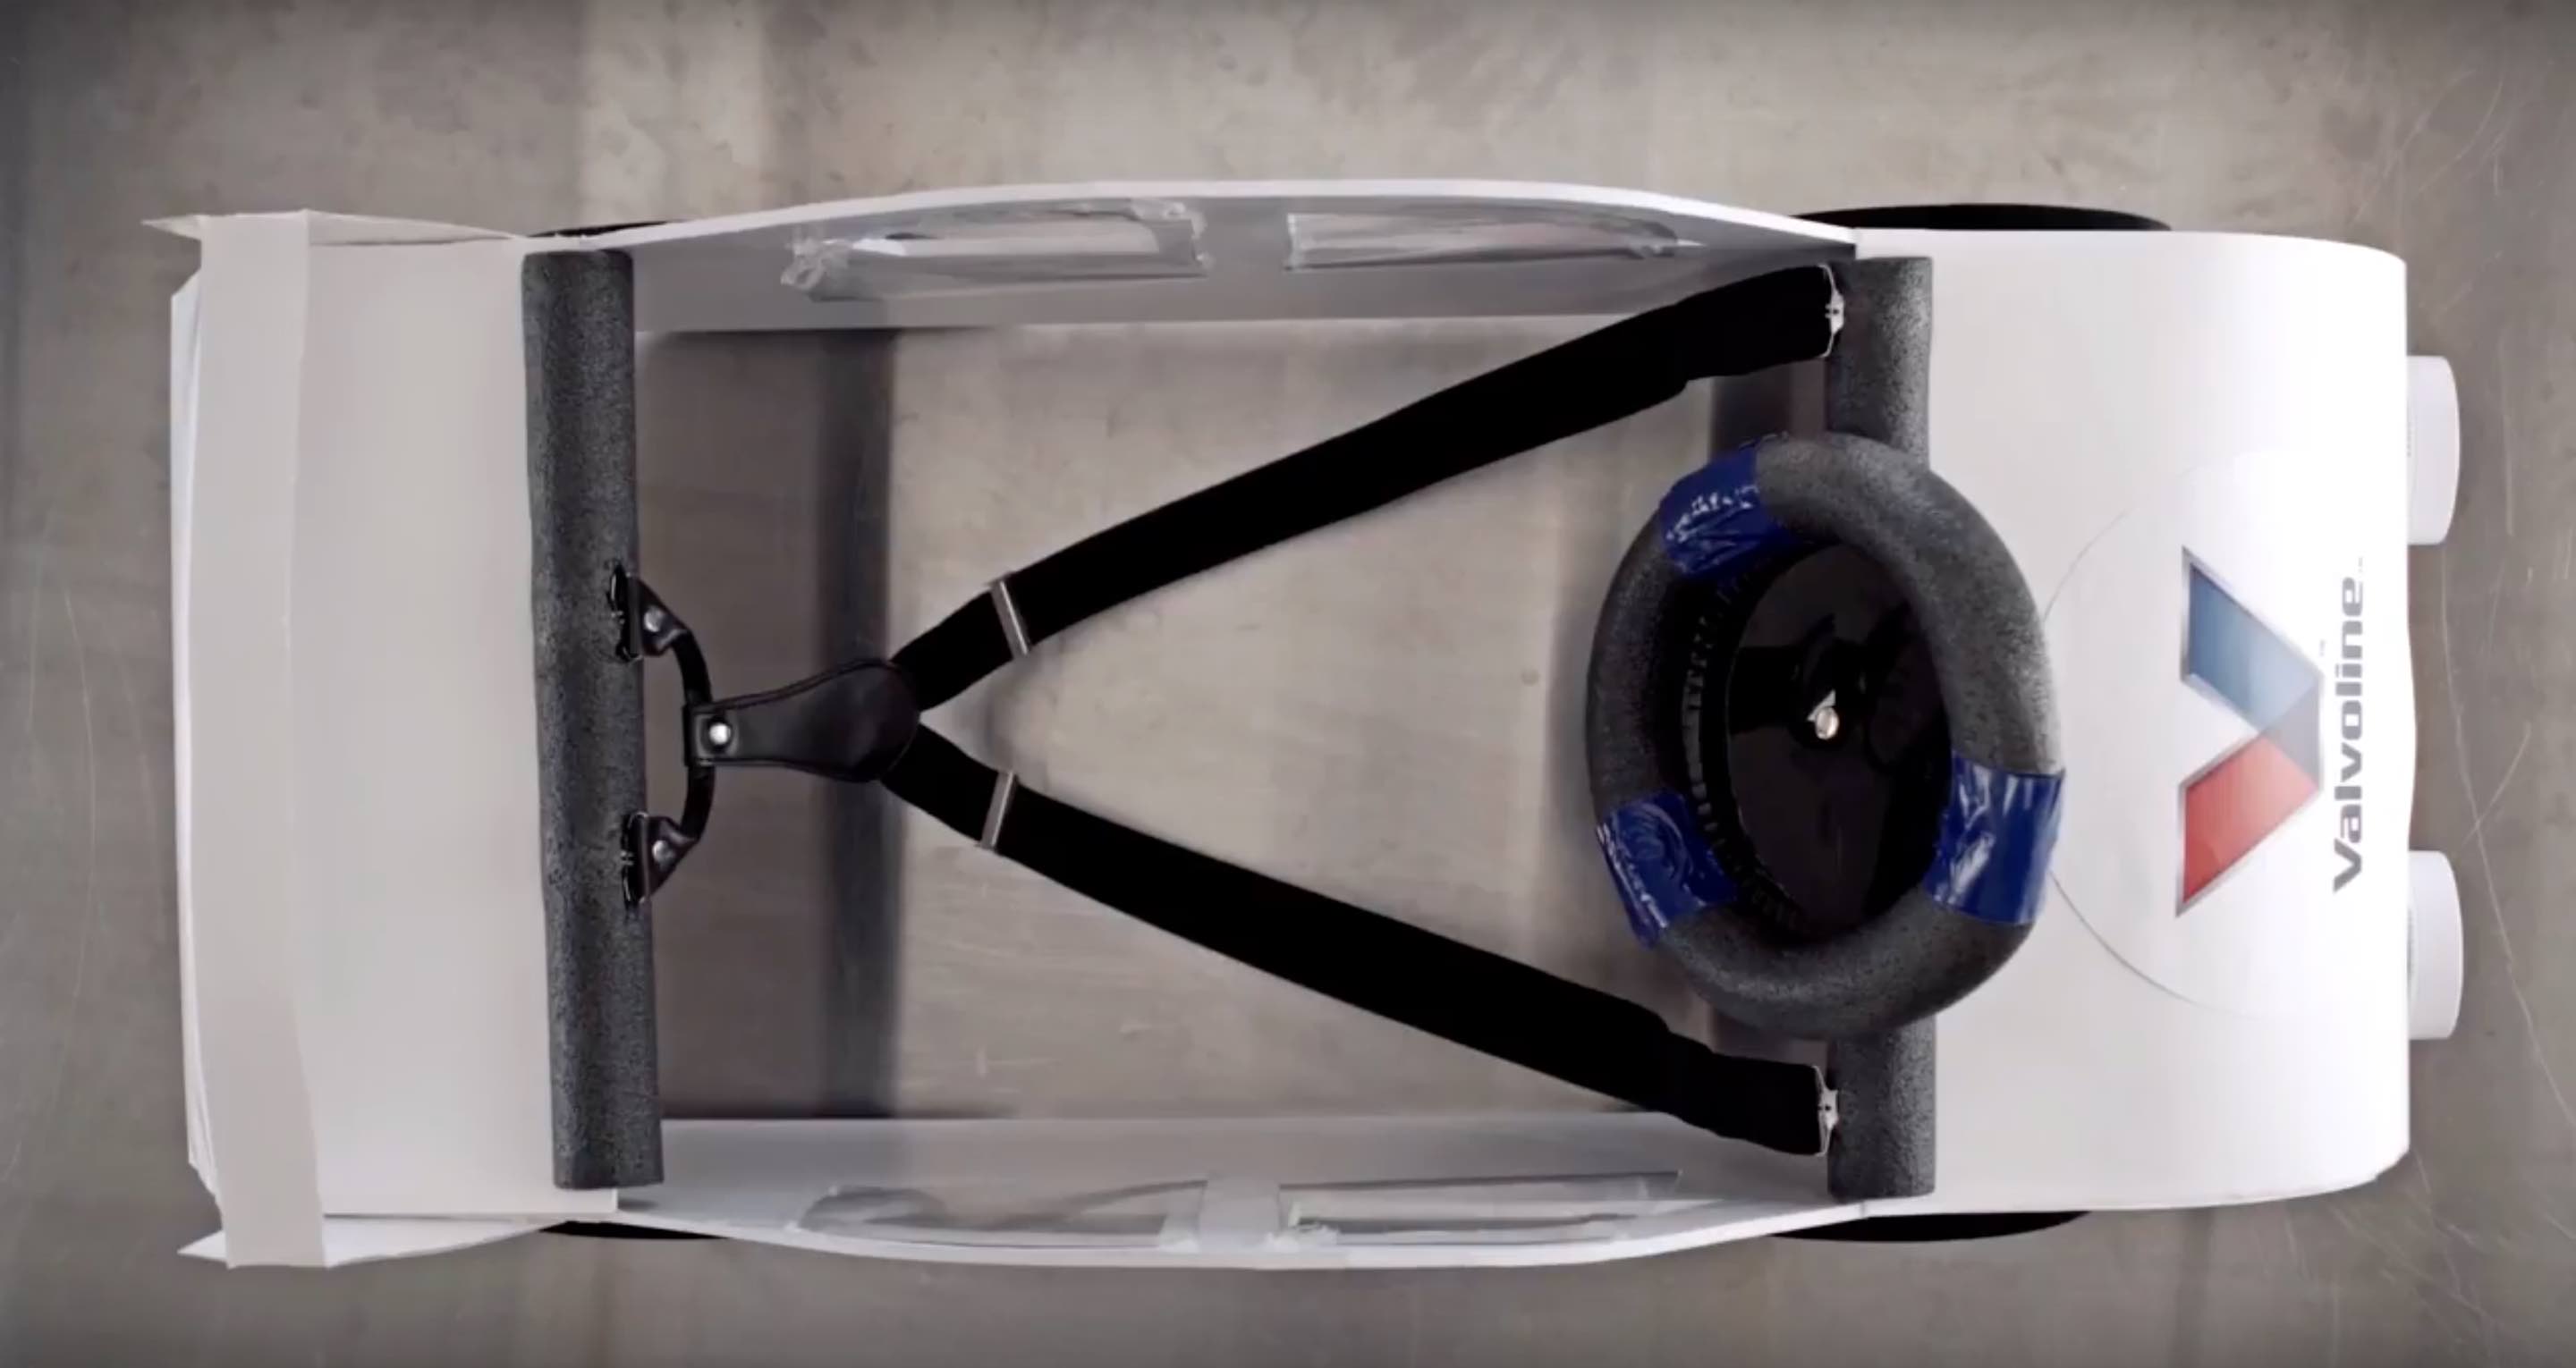
*Outfit the driver in white baseball pants, white shoes, and white hat. Don’t forget the wreath of roses (shape a faux rose garland into a wreath), a trophy celebratory beverage! Final Size: 36” L x 14” W x 11.5” H

Don't miss out on new content
Thanks for signing up. Set your password and start earning reward points for everything you do on the site.
You already have a Team Valvoline account. Sign in here.
Did you forget your password?