
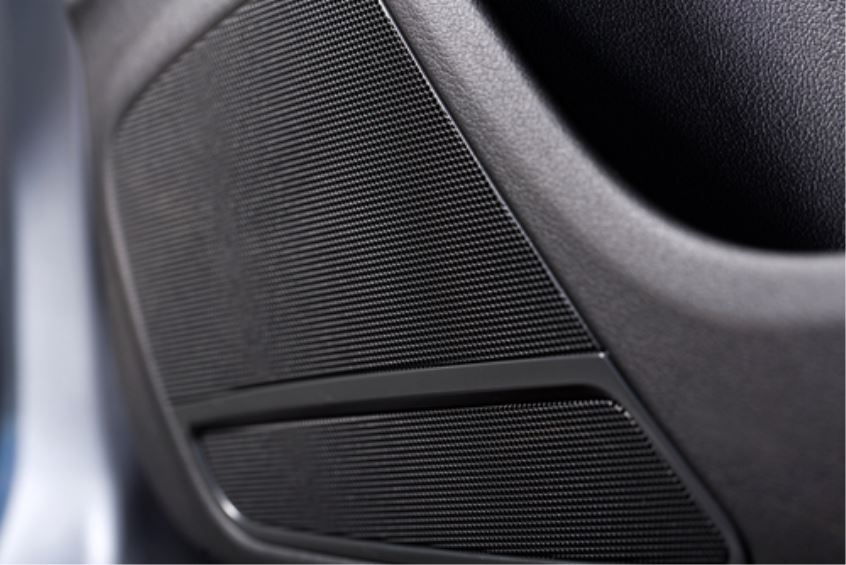
Over the years, the age of your system (and listening at a high volume) can take a toll on your car audio speakers. This can cause them to sound worse than they did originally, or not work at all.
But there is a solution. In many cases, you can identify and replace a blown car audio speaker and continue to enjoy the tunes you love.
Step 1 – Identifying the Problem Speaker
Most car stereos have balance and fade selectors built in. To test these settings, turn your stereo on and play some of your favorite tunes, then try to fade the sound to the front or rear speakers. This will help you figure out which speakers sound the worst.
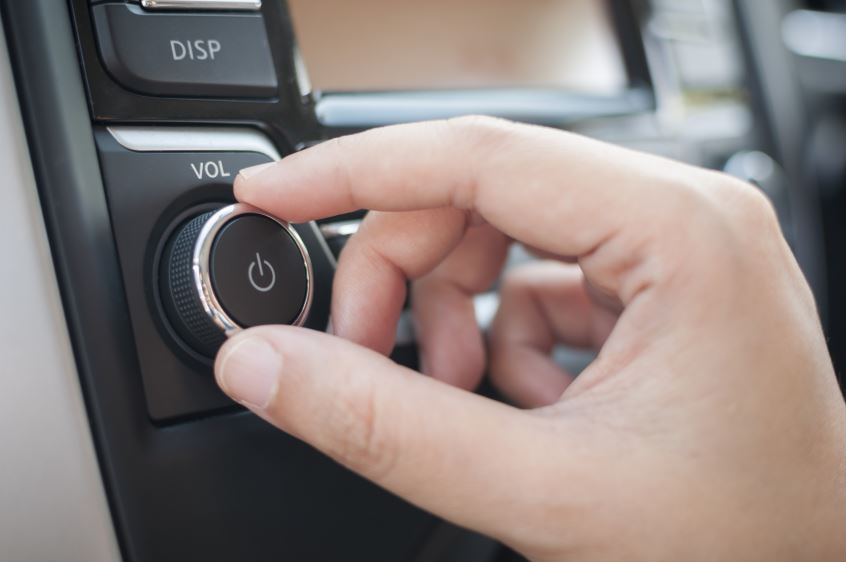
Once you’ve determined if the issue is in the front or rear of the vehicle, change the balance to pinpoint the exact speaker that sounds distorted or doesn’t play at all.
Step 2 – Removing the Speaker and Testing the Connection
You might need a set of hand tools, including screwdrivers and trim panel removal tools, to remove the speaker from your vehicle. Your owner’s manual may have speaker removal instructions for your particular model, so be sure to consult your owner’s manual first.
Once you’ve determined how to remove the speaker, and you’ve done just that, you can test the speaker with scrap pieces of speaker wire and a 9-volt battery. Carefully connect the speaker wire to the speaker and the 9-volt battery, making sure to listen for a brief popping sound once they’re connected. If hear a popping sound, this means your speaker is not the issue and you can install it back into your vehicle.
Another way to test your speaker is by using a multimeter or Ohm Meter. If the speaker is blown, your meter will read infinite ohms. If the meter reads 1.0 or more ohms, your speaker is still good.
Step 3 – Choosing and Installing a Replacement Speaker
If you’ve got a busted speaker in your vehicle, you’ll have several options for replacing it. Unless you absolutely love the sound of the factory stereo system, most people choose to go with an aftermarket option, in which case you’ll need to do your research and choose a speaker fits properly back into your vehicle. Several aftermarket companies offer brackets and wiring adapters to allow for easy installation, and they won’t force you to cut your factory wiring harness.
If you decide to upgrade to more advanced stereo equipment by adding amplifiers and additional speakers, like subwoofers, it may be best to enlist the help of a car audio professional.
Once you’ve got your replacement speakers hooked up to the necessary brackets and/or wiring harness adapters, reinstallation is simple. Just work through the steps you took to uninstall the speaker in reverse order.
(Pro tip: Connect the wiring to the new speaker and turn the radio on to test the connection. This will ensure that the speaker plays, properly before you mount it back into the vehicle.)
Keep in mind, when purchasing aftermarket speakers, most of them come in pairs. Depending on the difficulty of removal/installation, you may choose to replace only the one that is blown, but be mindful that the other may be on its way out as well, so it would probably be best to replace the pair.
Once you have reinstalled the new speakers into your vehicle, it’s time to sit back and enjoy the music!
- The content above was submitted by a guest contributor and is for informational purposes only. The views and opinions expressed in this content are those of the guest contributor and do not reflect the views and opinions of Valvoline LLC.
 Dave Weakley